How Jewelry Welders Do Their Work Step-by-Step
Jewelry welding is a meticulous art that involves several key steps to ensure a seamless and durable finish. Whether you’re a seasoned jeweler or a beginner looking to hone your skills, understanding the process is essential.
First, you start by thoroughly cleaning and drying each jewelry piece. This ensures all parts fit tightly with no gaps.
Next, you precisely align components using fine tools and secure them in place.
After that, it’s time to select the right welding method—like laser or pulse arc—based on the metal and design.
Make sure to set up your equipment with proper argon shielding to prevent oxidation.
Now, apply small tack welds and add matching filler wire smoothly.
Finally, finish for a strong, seamless joint.
By following these steps closely, you’ll gain confidence and mastery in the craft of jewelry welding.
Preparing Jewelry Components for Welding
Before you begin welding, you need to prepare your jewelry components carefully.
Start by cleaning each piece thoroughly using ultrasonic cleaners or solvents to remove oils, dirt, and oxidation. This cleaning step guarantees a strong weld without contaminants interfering.
Thoroughly clean each piece with ultrasonic cleaners or solvents to ensure strong, contaminant-free welds.
Next, check that all parts fit tightly together with minimal gaps; a precise fit is essential for seamless joints.
Don’t forget proper grounding—attach a grounding clip securely to the jewelry to complete the electrical circuit.
Finally, adjust your welding machine’s settings based on the metal type and thickness. Using the right energy settings prevents damage and weak welds.
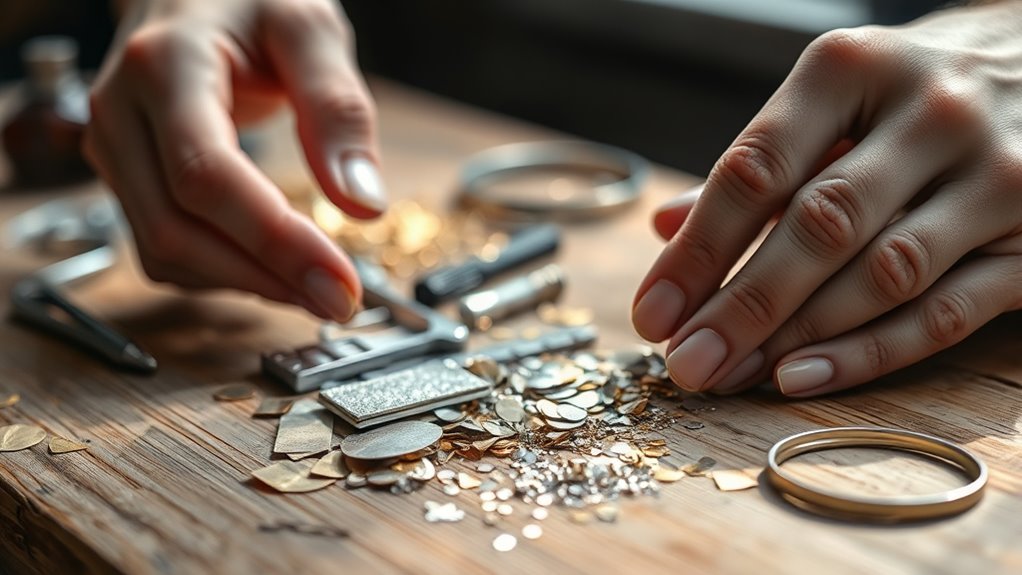
Selecting Appropriate Metals and Materials
When selecting metals and materials, you need to consider compatibility factors like melting points and conductivity to ensure strong welds.
Preparing your materials properly prevents defects and helps the welding process go smoothly.
Choosing the right filler metal that matches your base metal’s karat and color is key to creating seamless, durable joints.
Metal Compatibility Factors
Although metals differ widely in melting points and thermal conductivities, understanding these factors helps you select the right materials for welding.
Metal compatibility is vital to guarantee strong, durable bonds without discoloration or warping.
For example, gold alloys with similar karats and colors weld more seamlessly.
On the other hand, metals like platinum and stainless steel demand precise heat control due to their higher melting points and hardness.
Highly conductive metals such as silver and copper allow for deeper penetration but may reflect laser energy.
So, pulse arc welders often work better with these materials.
Keep in mind that some metals, like aluminum and titanium, require specialized techniques because their oxide layers and thermal properties complicate welding.
Material Preparation Techniques
Since selecting the right metals and materials lays the foundation for successful jewelry welding, you should prioritize metals with high electrical and thermal conductivity, like silver, copper, or gold.
Proper material preparation is essential—start by thoroughly cleaning metal surfaces using ultrasonic cleaning or solvents to remove oils, oxides, and dirt.
This guarantees strong, clean welds.
Next, prepare the metal edges carefully; filing or creating beveled edges helps achieve precise joints and superior weld strength.
Choosing the right metal thickness and designing joints thoughtfully also minimizes thermal distortion during welding.
Choosing Filler Metals
To achieve a seamless weld, you’ll need to select filler metals that match your base metal’s karat, color, and alloy composition.
This guarantees the joint blends perfectly without visible differences.
For gold, pick filler wire in the same karat and hue—yellow, white, or rose—to maintain uniformity.
When working with silver or platinum, choose compatible filler metals like silver solder or platinum wire designed for high-temperature welding.
Use fine gauge wires, around 0.25mm, to gain precise control and avoid adding excess material in small joints.
Prepare your filler materials by balling the wire ends with a torch or welding heat; this makes feeding easier and strengthens the weld.
Matching alloys and base metals carefully is key to a flawless result every time.
Cleaning Jewelry Parts Thoroughly
Before you start welding, make sure you clean every jewelry part thoroughly using ultrasonic cleaners or solvents to remove oils, dirt, and oxidation.
Ultrasonic cleaning effectively dislodges contaminants hidden in crevices.
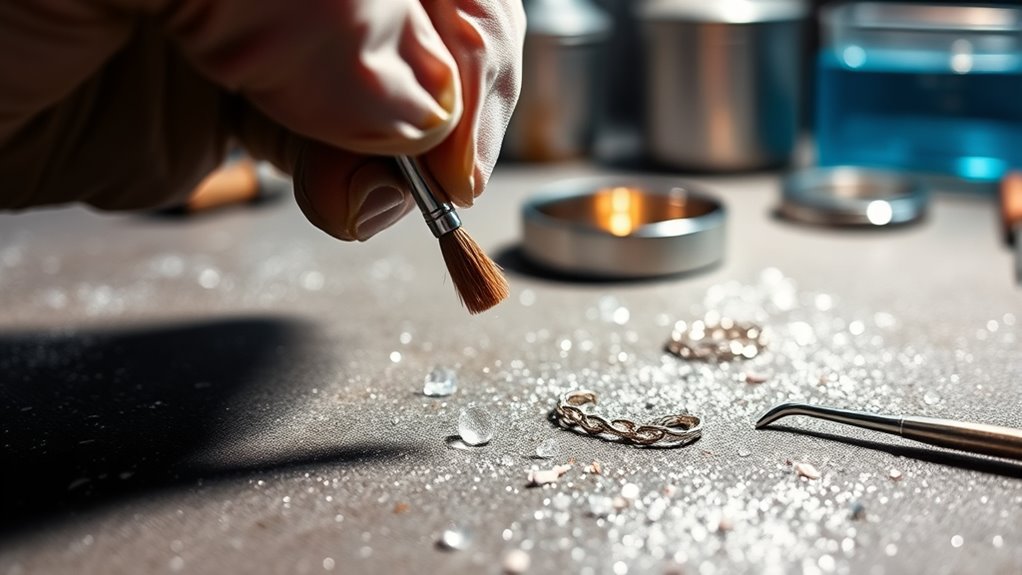
Afterward, use a soft brush or lint-free cloth to eliminate any leftover residue that might interfere with the weld.
Inspect each piece under magnification to catch stubborn contaminants or surface imperfections.
Avoid touching cleaned parts with your bare hands to prevent transferring oils or dirt, which can weaken the weld.
Finally, verify all parts are completely dry and free of moisture, as any dampness can cause defects or weak joints.
Proper cleaning sets the foundation for strong, flawless welds and is a vital step you can’t skip.
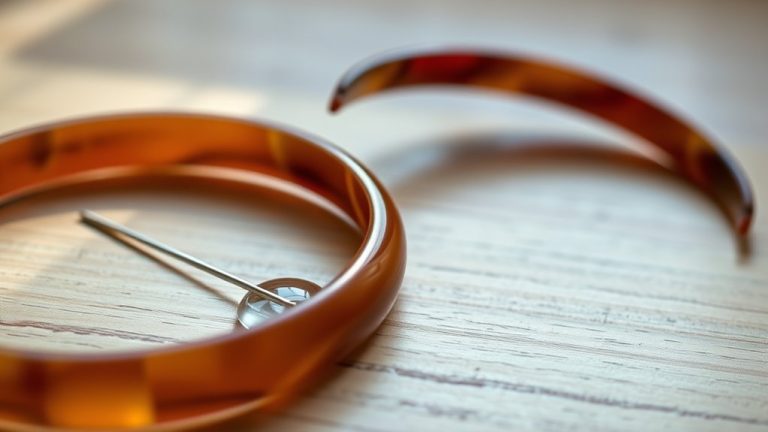
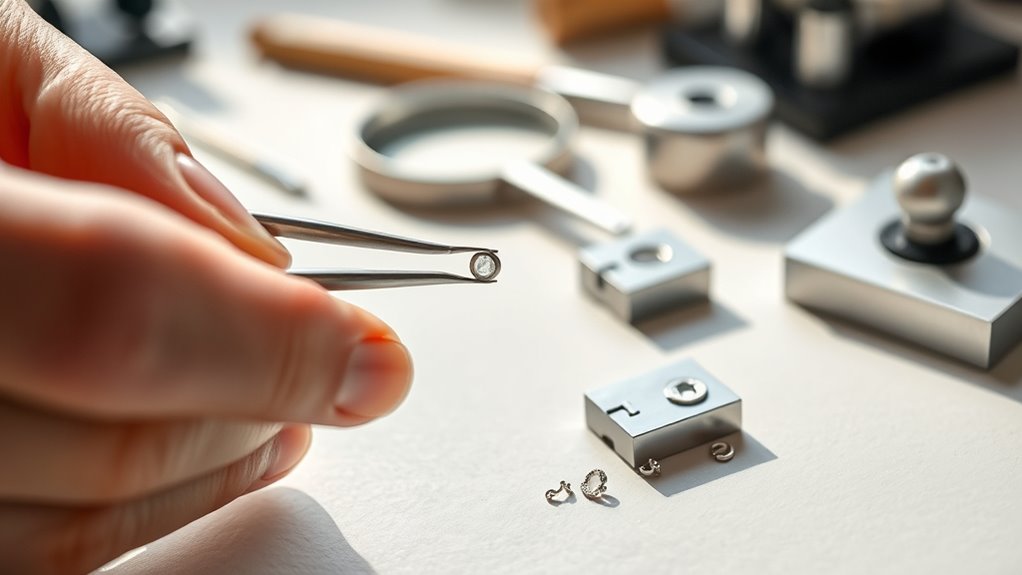
Properly Fitting and Aligning Components
Although welding demands precision, you’ll achieve the best results by ensuring every jewelry component fits perfectly and aligns correctly before you begin.
Start by making sure all jewelry components are clean and free of oils or oxides, as this is vital for a precise weld.
Ensuring all jewelry parts are spotless and oxide-free is essential for achieving a flawless weld.
Use fine-tipped pliers to carefully hold and position parts, maintaining proper alignment throughout the process.
It’s a good idea to employ a magnification lens or microscope to verify the exact fit and contact between surfaces.
Adjust the joint edges so they’re flush, minimizing gaps for a seamless weld.
Finally, secure the components firmly with a jig or third-hand tool to prevent any movement during welding.
This careful fit and alignment set the foundation for a flawless final piece.
Choosing the Right Welding Method
Choosing the right welding method depends on your jewelry’s metal type, thickness, and detail. You’ll want to compare options like laser, pulse arc, and TIG based on precision and project needs.
It’s also important to keep your skill level, workshop setup, and budget in mind to make the best choice. So, take some time to evaluate all these factors before diving into your project!
Welding Method Comparison
When you pick a welding method for jewelry, you need to contemplate the metal type, the complexity of your piece, and whether you prioritize precision, strength, or speed.
In the jewelry industry, laser welding offers incredibly precise, clean joins with minimal heat impact. This makes it perfect for intricate designs.
TIG or micro welding uses a tungsten electrode and argon shielding to handle delicate components carefully.
Pulse arc welding efficiently fuses metals like gold and silver with controlled energy pulses.
Traditional soldering relies on filler metal and lower heat, making it less precise and often weaker than modern welding techniques.
By comparing these methods, you can select the best approach to match your piece’s needs.
It’s all about balancing accuracy, durability, and workflow efficiency.
Factors Influencing Choice
Since metal type greatly affects welding outcomes, you’ll want to contemplate it carefully before selecting a method.
For example, silver and copper often respond best to a pulse arc welder, which handles reflection better.
Next, consider metal thickness; thicker pieces demand higher energy settings and sometimes different techniques than delicate, thin components.
If your project includes heat-sensitive materials like stones, a pulse arc welder is preferable to minimize thermal damage.
The complexity of your design matters too—intricate work might call for the precision of a laser welder.
Finally, factor in your budget and equipment availability since entry-level welders cost less but may lack features found in professional-grade machines.
Balancing these factors ensures you choose the right welding method tailored to your jewelry project’s needs.
Setting Up and Adjusting Welding Equipment
Before you start welding, you’ll need to clean the jewelry thoroughly with an ultrasonic cleaner or solvent to remove oils and oxides.
Start by thoroughly cleaning your jewelry with an ultrasonic cleaner or solvent to remove oils and oxides.
Next, set up your welding machine by adjusting the power, pulse duration, and frequency according to the metal type and thickness.
Begin with the manufacturer’s recommended settings, then attach the grounding clip securely to the jewelry or welding station to guarantee a consistent electrical flow.
Position the laser or electrode precisely at the weld joint using the integrated microscope or viewing system for accurate targeting.
Always test your welding settings on a scrap piece first.
Based on the test results, fine-tune the parameters and adjustments to achieve a clean, strong weld without damaging the piece.
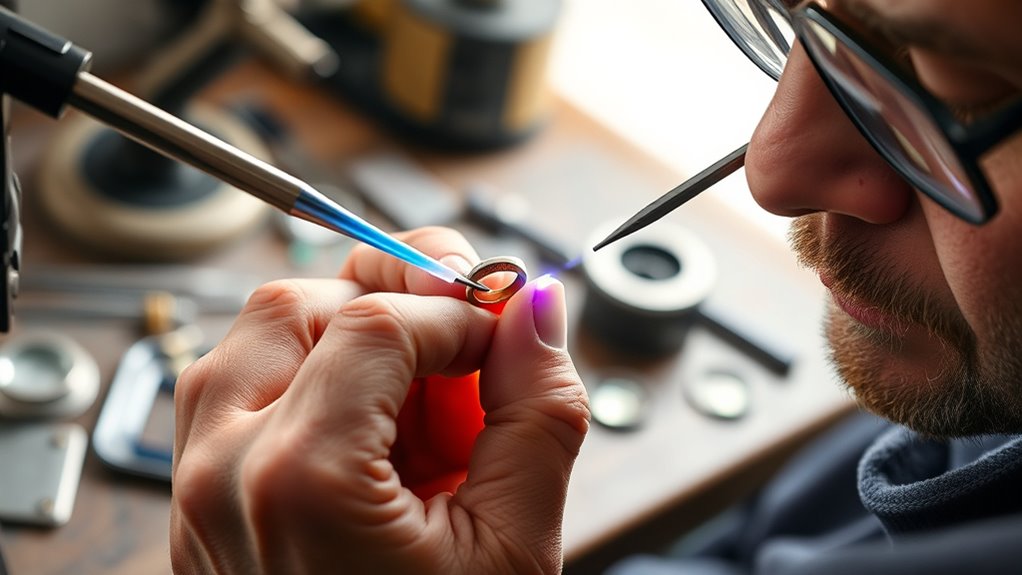
Using Argon Shielding and Protective Measures
Although welding jewelry demands precision, using argon gas shielding plays a critical role in protecting your work from oxidation and discoloration.
You direct the argon shielding—an inert gas—around the weld area through a nozzle. This creates a protective barrier that keeps atmospheric gases from contaminating the weld pool.
Maintaining the proper gas flow rate and positioning the nozzle correctly guarantees a stable, contamination-free environment.
This prevents porosity, weak welds, and surface imperfections in your jewelry.
To keep coverage consistent, you often use a gas flow regulator or accelerator. This ensures that the weld pool stays shielded throughout the process.
By carefully managing argon shielding and protective measures, you guarantee strong, clean welds.
These practices enhance the quality and durability of your jewelry pieces.
Applying Tack Welds Before Final Welding
After setting up your argon shielding to protect the weld area, the next step is to apply small tack welds at key points.
These brief, precise spots hold the components securely without overheating or distorting the metal.
Using a pulse arc welder, you deposit tiny welds, often less than one millimeter, to guarantee precise alignment.
Proper placement of tack welds minimizes the need for repositioning during the welding process, keeping everything stable and perfectly matched.
Tack welds act as anchors, allowing you to confidently proceed to the final weld.
This careful approach prevents movement and helps maintain the integrity of delicate jewelry pieces before you move on to complete a strong, seamless connection.
Adding Filler Wire and Finishing the Weld
When you add filler wire to the weld, selecting one that matches your metal’s karat, color, and alloy composition guarantees a seamless bond.
The filler wire, often ball-ended or pre-shaped, feeds smoothly into the weld pool during welding. You introduce it into the molten metal, where it fuses to strengthen the joint.
Maintain a consistent distance and angle between the electrode and filler wire to ensure even melting.
After welding, gently press or compact any excess filler wire to create a smooth, flush surface. This step is vital before moving on to the final finish.
Proper handling during this phase ensures your jewelry piece has a strong, clean, and visually flawless weld that blends perfectly with the surrounding metal.
Frequently Asked Questions
How Does a Jewelry Welder Work?
You focus heat precisely on the metal joints, adjusting settings to control the melt.
You use protective gases to avoid oxidation, making small welds carefully.
And don’t forget to cool between passes to create strong, seamless bonds without damaging the piece.
Is Jewelry Welding Difficult?
Yes, jewelry welding can be difficult because you need precise control, steady hands, and deep knowledge of techniques.
But with practice and patience, you’ll improve.
Mastering the skill required for delicate, flawless welds takes time!
Can You Make $100,000 a Year Welding?
You can make $100,000 a year welding if you specialize, gain experience, and work in high-demand industries or luxury markets.
Building skills and reputation allows you to command premium rates and reach that income level.
It’s all about finding the right niche and continuously improving your craft.
With dedication and the right opportunities, that income goal is definitely achievable!
What Are the 5 Steps in Welding?
You clean and prepare the metal, position the pieces securely, activate the welder, apply heat to fuse them, then cool and inspect the weld.
These five steps guarantee a strong, precise welding result every time.
Conclusion
As you bring your jewelry pieces together, imagine the gentle glow of the welding torch sparking life into delicate metals.
Each precise weld, like a tiny heartbeat, fuses beauty and strength.
With careful cleaning, fitting, and shielding, you create seamless connections that gleam under the light.
By mastering every step, you transform simple components into dazzling art.
Crafting treasures that shine with your skill and passion, your hands bring metal to life.
In conclusion, jewelry welding is an art that requires precision and care.
With each weld, you not only join metal but also create a unique piece that reflects your creativity.
By understanding the importance of every step, from cleaning to shielding, you ensure the final product is both beautiful and strong.
Embrace your skills as a jewelry welder and continue to craft stunning pieces that will be cherished for generations.