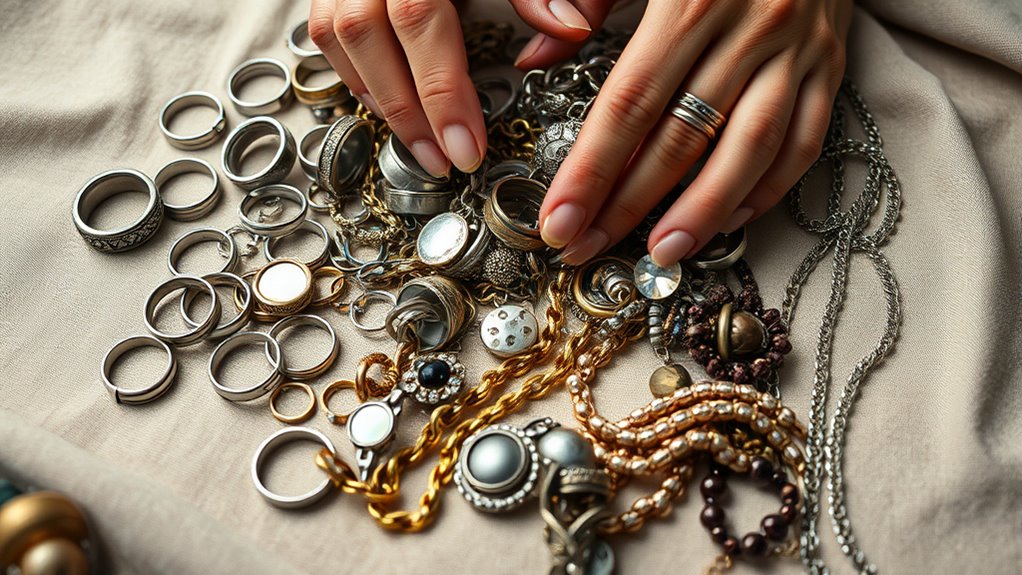
How Do You Remove Tarnish From Jewelry Step by Step
To remove tarnish from your jewelry, you can use a very effective and simple method. First, gather your materials: a heat-resistant dish, aluminum foil, baking soda, and boiling water.
Start by lining the dish with aluminum foil, making sure the shiny side is facing up.
Next, sprinkle a generous amount of baking soda over the foil.
Now, place your tarnished jewelry on top of the baking soda.
Carefully pour boiling water into the dish, ensuring that all the jewelry pieces are fully submerged.
Let them soak for about 10 to 15 minutes.
After the soaking time, carefully remove the jewelry and rinse each piece with lukewarm water.
Finally, dry your jewelry with a soft cloth and give it a gentle buff to restore its shine.
This method lifts tarnish safely and easily.
Plus, remember to check out some extra tips to keep your jewelry shining longer!
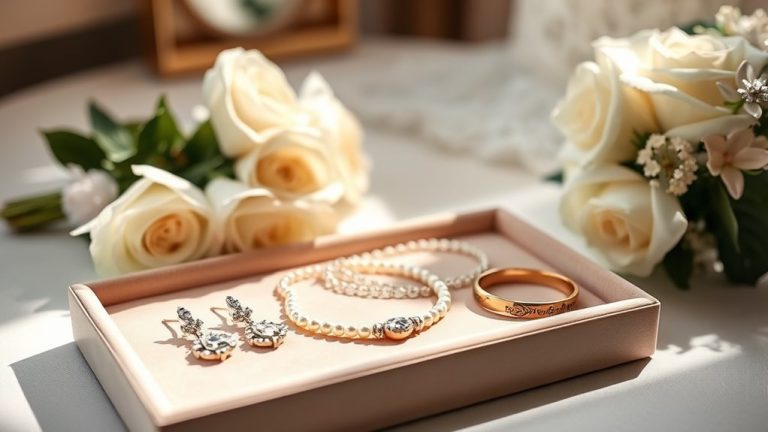
Gather Materials Needed for Jewelry Cleaning
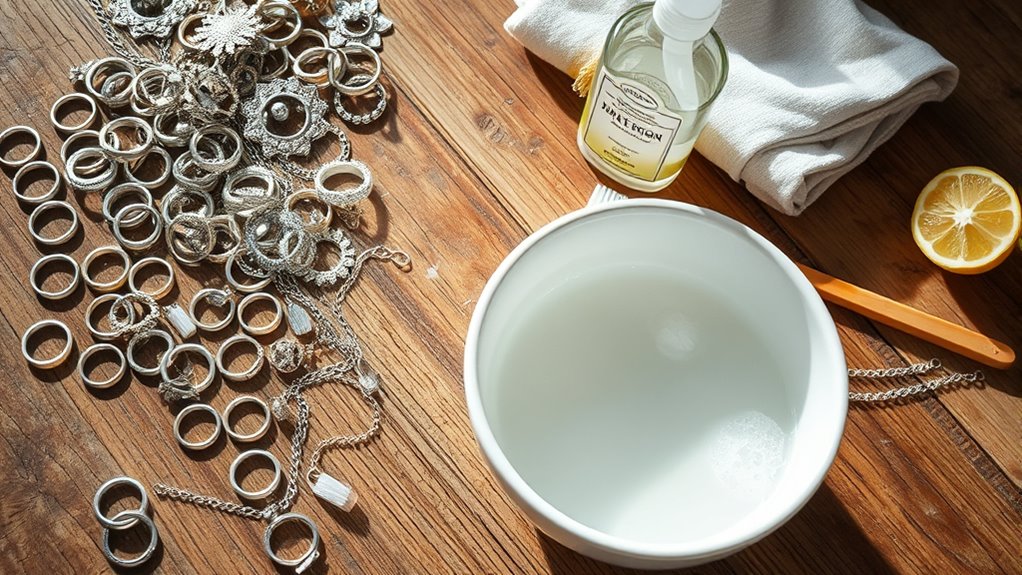
Before you begin removing tarnish from your jewelry, make sure you gather all the necessary materials.
Start with a soft cloth for gentle polishing once the tarnish removal process is complete.
Begin with a soft cloth to gently polish your jewelry after removing tarnish for a brilliant shine.
You’ll also need baking soda and aluminum foil, which are key ingredients for the cleaning reaction.
Prepare a heat-resistant glass dish to hold your jewelry during cleaning.
Access to hot water, preferably boiling or very hot tap water, is essential to activate the tarnish removal.
Have a small spoon ready to measure the baking soda accurately.
Finally, keep a clean, dry towel or microfiber cloth nearby to thoroughly dry and polish your pieces after cleaning.
With these materials on hand, you’re all set for an effective and safe jewelry cleaning process that restores shine without damage.
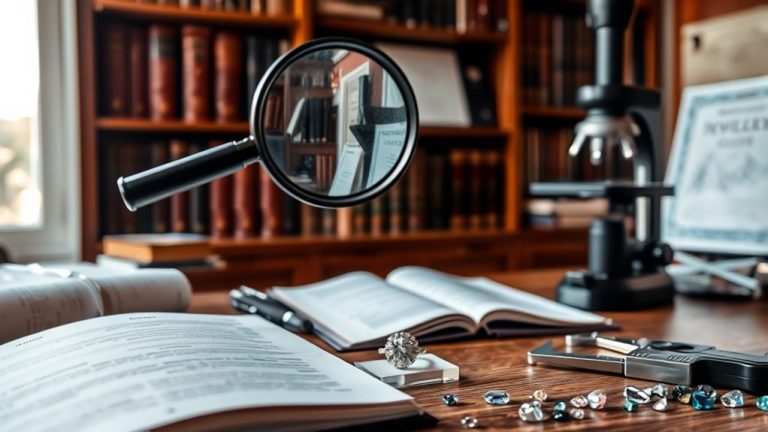
Identify the Type of Jewelry and Tarnish Level
Start by figuring out what kind of metal your jewelry is made from—silver, gold, copper, or plated.
Each type needs a different cleaning method, so it’s important to identify it first.
Next, check how tarnished it is: light, moderate, or heavy tarnish will guide your approach.
This way, you can pick the safest and most effective way to restore your piece.
Jewelry Material Identification
When you’re ready to clean your jewelry, identifying the metal type and tarnish level is essential to avoid damage.
Start by determining if your piece is silver, gold, copper, or another material, since each needs a specific cleaning approach.
Silver jewelry commonly tarnishes, showing dark or discolored spots that signal it’s time for cleaning.
Next, check if the jewelry is plated or solid; plated items require gentler care to preserve the finish.
Also, look closely at any gemstones or embellishments to ensure they won’t be harmed by your cleaning method.
Recognizing the type of materials and the extent of tarnish helps you choose the right technique, preventing harm while restoring your jewelry’s shine effectively.
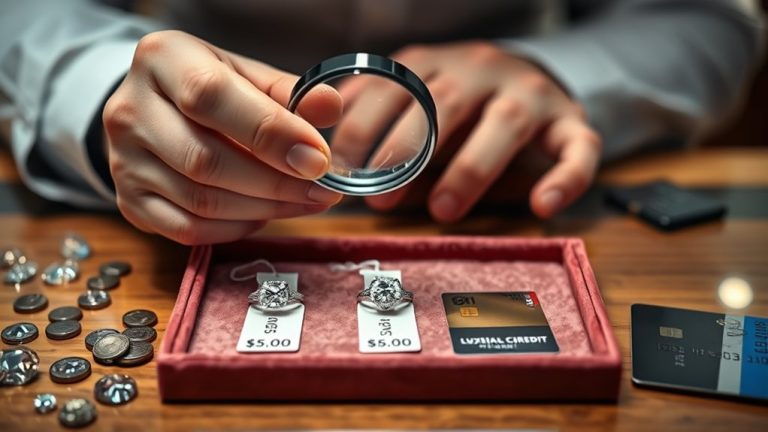
Assess Tarnish Severity
Identifying your jewelry’s material is only the first step.
You also need to evaluate how severe the tarnish is.
To properly assess tarnish, observe if the discoloration is light or heavy, and check for delicate gemstones or damage.
This helps you choose the right jewelry cleaning and tarnish removal method without causing harm.
| Tarnish Severity | Cleaning Approach |
|---|---|
| Light dullness | Gentle polish or mild soap |
| Thin film | Soft cloth or baking soda paste |
| Heavy discoloration | Commercial cleaner or soak |
| Deep scratches | Avoid abrasive methods |
| Gemstones present | Use gentle, non-abrasive methods |
Make sure to match your cleaning method to your jewelry material and tarnish severity for safe, effective results.
Prepare the Aluminum Foil and Baking Soda Setup
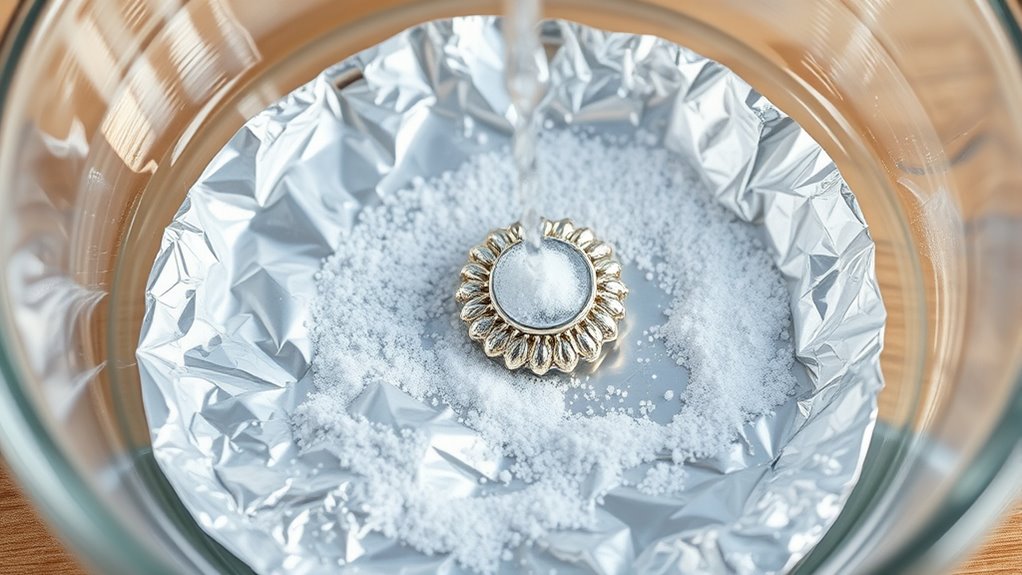
Start by lining a glass or plastic dish with aluminum foil, shiny side up, to maximize the cleaning effect.
Make sure the foil covers the bottom completely without any wrinkles or gaps.
Then, measure about two heaping tablespoons of baking soda and sprinkle it evenly over the foil.
Choose Foil Type
A key step in preparing your tarnish removal setup is selecting the right aluminum foil.
Choose shiny, uncoated aluminum foil to guarantee the best chemical reaction that will clean tarnish effectively. Avoid foil types with coatings or patterns, as they can interfere with the process.
Cut or fold the foil to fit your cleaning dish comfortably.
Make certain to place it with the shiny side facing up, since this enhances the reaction. Also, smooth foil without wrinkles is vital because wrinkles reduce the contact between the foil and your jewelry, limiting cleaning efficiency.
Arrange Foil Shiny
When you line your dish with aluminum foil, make sure the shiny side faces up to boost the chemical reaction that removes tarnish.
Take a sheet of foil and cover the bottom of a shallow dish completely, smoothing it out to avoid wrinkles.
This shiny side of the foil plays a key role in the chemistry reaction, enhancing the transfer of electrons that lifts tarnish off your jewelry.
Once the foil is arranged properly, you’ll be ready to add baking soda and water.
To keep things tidy, place the dish on a dishtowel to catch any spills.
Properly setting up the foil ensures your jewelry sits evenly and safely, maximizing the cleaning effect while preventing scratches during the soaking process.
Measure Baking Soda
How much baking soda do you need to clean your jewelry effectively?
For each batch of tarnished pieces, measure about 2 tablespoons of baking soda.
Start by lining a glass dish with aluminium foil, shiny side up, making sure it covers the entire bottom.
Sprinkle the measured baking soda evenly over the foil, forming a thin, consistent layer.
This ensures the baking soda fully contacts the aluminium foil, which is vital for the chemical reaction that drives tarnish removal.
Next, prepare enough hot water to completely submerge your jewelry in the foil-lined dish.
This setup maximizes the efficiency of cleaning jewelry by combining baking soda, aluminium foil, and hot water to restore shine and remove tarnish safely and effectively.
Submerge Jewelry in Hot Water Solution
Since hot water activates the chemical reaction needed for cleaning, you’ll want to fill a glass dish with enough boiling water to fully submerge your tarnished jewelry.
Use boiling water in a glass dish to fully submerge and activate the cleaning process for tarnished jewelry.
Carefully place the jewelry into the hot water, making sure it’s completely covered. Let it soak for 10 to 15 minutes to help loosen the tarnish from the surface.
This soaking step is vital for effective cleaning. After soaking, remove the jewelry using tongs or a spoon to avoid burning yourself.
Rinse the pieces thoroughly with lukewarm water to wash away any remaining residue. Finally, dry your jewelry completely with a soft cloth to prevent water spots and further tarnish.
Following these steps will guarantee your jewelry gets a thorough and safe cleaning.
Allow Jewelry to Soak and Tarnish to Lift
After soaking your jewelry in hot water, you’ll want to set up a simple yet effective method to lift the tarnish completely.
Place your jewelry on aluminum foil, shiny side up, inside a glass dish.
Sprinkle baking soda generously over every surface, then carefully pour boiling water to fully submerge the pieces.
This soak initiates a chemical reaction between the foil, baking soda, and tarnish.
To effectively remove tarnish:
- Make sure the jewelry is completely covered by the boiling water solution.
- Let it soak for 10-15 minutes to allow the chemical reaction to work.
- After soaking, use a soft cloth to gently polish and remove any loosened tarnish.
This method safely lifts tarnish, restoring your jewelry’s shine without harsh scrubbing.
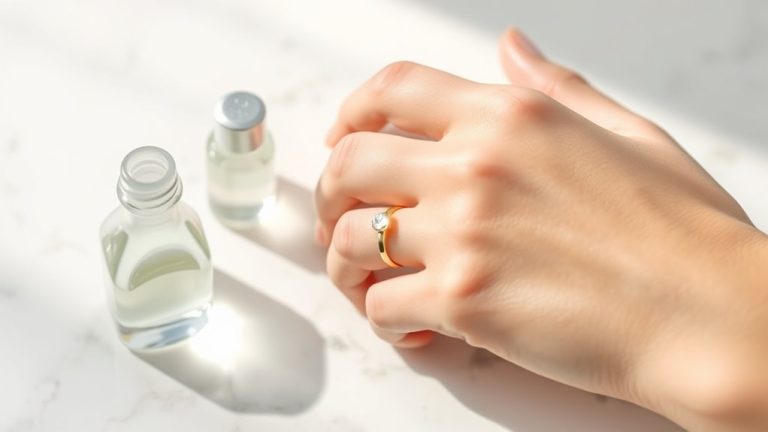
Rinse Jewelry Thoroughly With Clean Water
A thorough rinse with clean water guarantees you remove all traces of baking soda and residue from your jewelry, preventing any dullness or further tarnish.
Use lukewarm or cool water to rinse your pieces, as hot water might damage delicate gemstones or loosen settings.
Hold your jewelry gently under running water or swirl it carefully to wash away all residues without risking stone dislodgment.
Make sure the rinse is complete so no cleaning solution remains, which can cause a dull film or encourage tarnish to return.
This step is vital to keep your jewelry looking bright and protected from future damage.
Avoid high-pressure water streams, and always use clean water to ensure the best results when you rinse your jewelry.
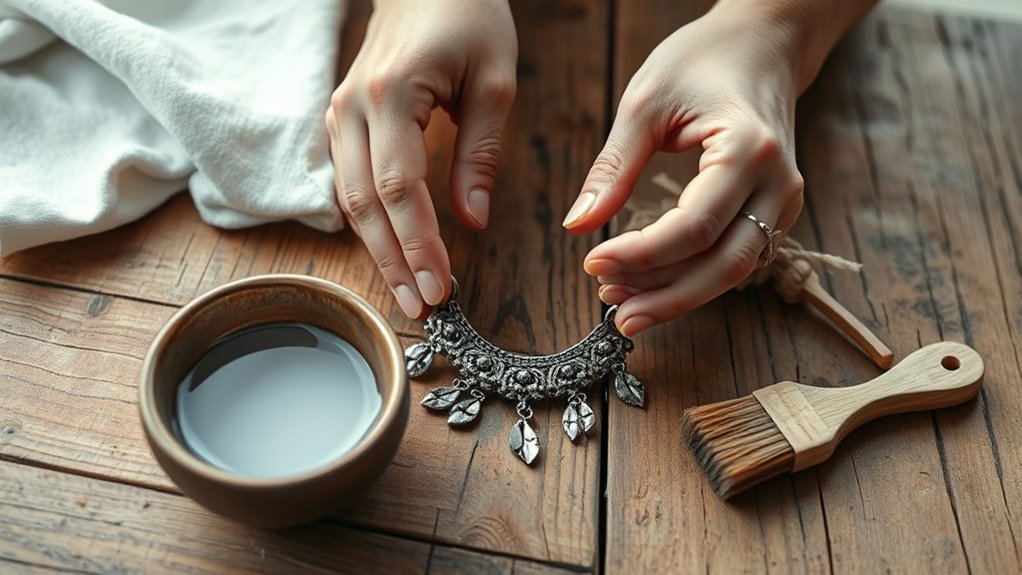
Dry and Buff Jewelry Using a Soft Cloth
Once you’ve rinsed your jewelry thoroughly, the next step is to dry and buff it using a soft cloth.
Start by gently wiping off any moisture or residue with a lint-free cloth.
Then, use a clean, dry polishing cloth to buff your piece, restoring its shine without scratching delicate surfaces.
Focus on detailed areas and crevices, applying light pressure to polish evenly.
Remember, avoid rough materials that can damage the finish or gemstones.
This careful process ensures your jewelry is completely dry and gleaming.
- Gently wipe with a soft cloth to remove moisture
- Buff with a dry polishing cloth to enhance shine
- Target crevices with light pressure to polish thoroughly
This step is key to bringing out your jewelry’s full sparkle.
Tips for Maintaining Jewelry Shine and Preventing Tarnish
Although tarnish can form quickly, you can keep your jewelry sparkling by storing pieces in anti-tarnish pouches or airtight containers. This limits their exposure to air and moisture.
To protect jewelry and prevent tarnish, follow these practical tips:
| Action | Why It Matters | How It Helps |
|---|---|---|
| Store properly | Limits air and moisture | Prevents tarnish formation |
Regular polishing is also important. It removes oils and dirt from your jewelry.
Keeping it shiny is essential for maintaining its beauty.
| Avoid chemicals | Stops chemical reactions | Protects metal surfaces |
Make sure to remove your jewelry before water exposure. This prevents chlorine and sweat contact.
All these actions help reduce tarnish buildup, keeping your pieces looking their best.
Frequently Asked Questions
How to Remove Tarnish From Jewelry at Home?
You can remove tarnish at home by placing your jewelry on aluminum foil.
Sprinkle baking soda over it, then pour boiling water over the jewelry.
Let it sit for a bit, then rinse and polish to restore shine quickly and safely.
How to Get Tarnish off Permanent Jewelry?
You can get tarnish off permanent jewelry by soaking it in warm water mixed with baking soda.
Gently scrub with a soft toothbrush if needed.
Then rinse and dry thoroughly to restore its shine and prevent damage.
What Household Items Remove Tarnish?
Think of baking soda and aluminum foil as your jewelry’s magic erasers.
You’ll also want hot water to activate the sparkle dance.
Toothpaste works gently, but these household heroes remove tarnish without fuss or damage.
Can Tarnishing Be Reversed?
Yes, you can reverse tarnishing on jewelry by cleaning it regularly.
Using household items like baking soda and aluminum foil or commercial polish helps restore shine.
Deep tarnish might need professional care, though.
Conclusion
Now that you know how to remove tarnish step by step, you’re ready to bring your jewelry back to life.
Just remember, a little elbow grease goes a long way—don’t rush the soaking or drying process.
Taking care of your pieces regularly will keep them shining bright, so they’re always ready to steal the show.
With these simple steps, your jewelry will sparkle like new, shining through the test of time.
In conclusion, by following these easy methods to remove tarnish, you can ensure your jewelry remains in pristine condition.
Regular cleaning and care will enhance its shine and longevity.
So, don’t hesitate to give your favorite pieces the attention they deserve, and enjoy their beauty for years to come!