How Does Permanent Jewelry Work Step by Step
You start by choosing a chain style and metal that suit your taste and lifestyle.
Next, measure your wrist or ankle precisely for the perfect fit.
After setting up your tools and workstation, you connect the chain ends with a jump ring.
This jump ring is securely welded using specialized equipment to form a seamless loop.
Once polished and inspected for quality, the piece is ready to wear.
If you want to understand each step more in-depth, there’s plenty to explore.
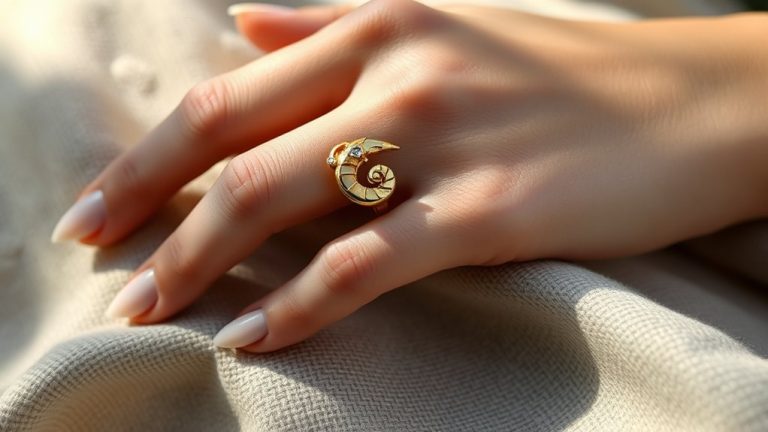
Selecting the Chain Style and Metal
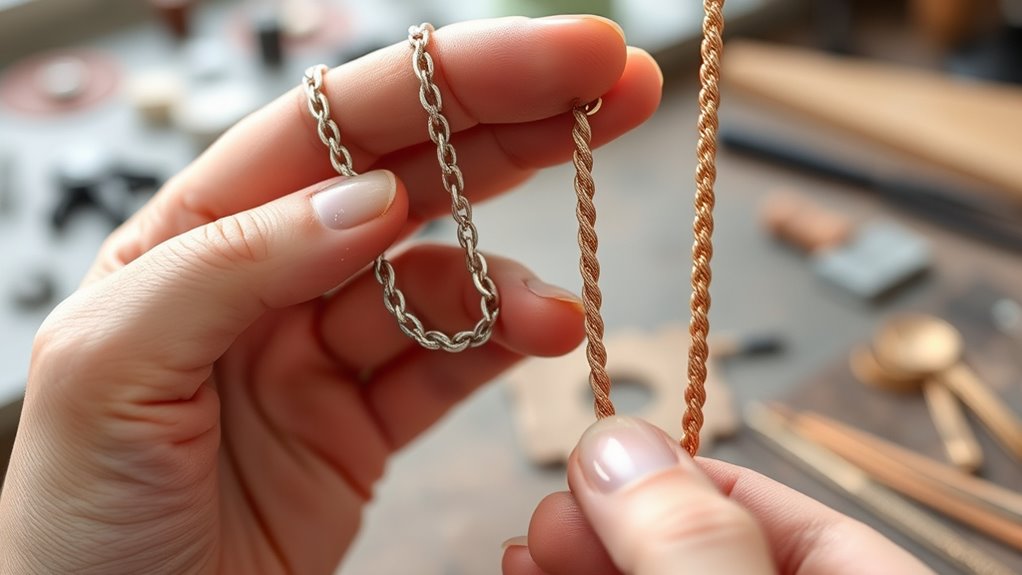
When selecting the chain style and metal for your permanent jewelry, you’ll want to choose a design that reflects your personal aesthetic, whether that’s delicate, bold, or a classic link chain.
Consider the metal type carefully—gold-filled, sterling silver, or 14K solid gold are popular options.
Each metal offers different durability and skin sensitivity benefits, so pick one that suits your lifestyle and comfort.
Your chain’s style should not only match your look but also your daily activities to ensure long-lasting wear.
Opt for high-quality, hypoallergenic materials that resist tarnishing.
Working with a professional helps you verify that the chain style and metal type align perfectly with what you want, making your permanent jewelry a seamless extension of your personal style.
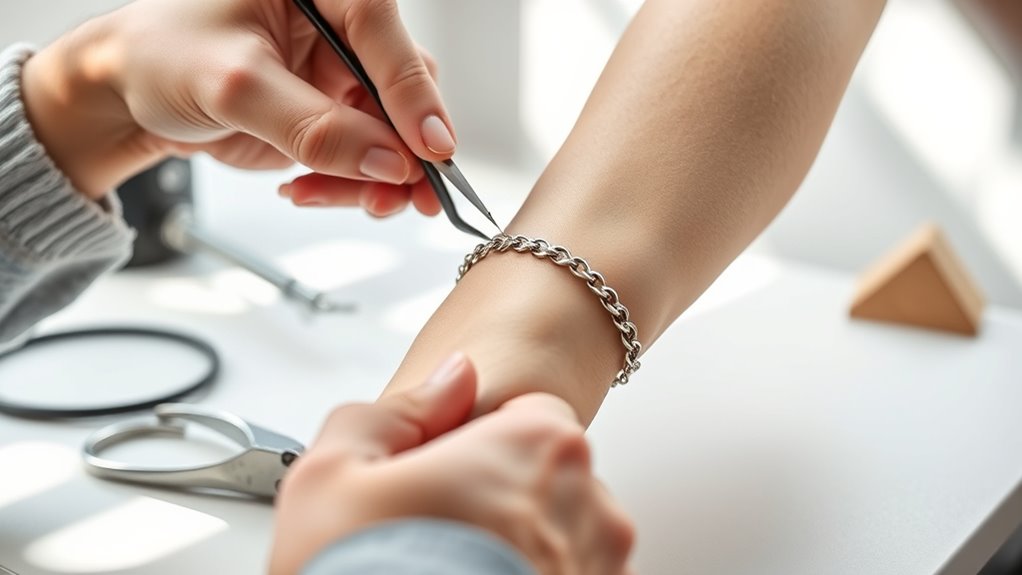
Measuring for the Perfect Fit
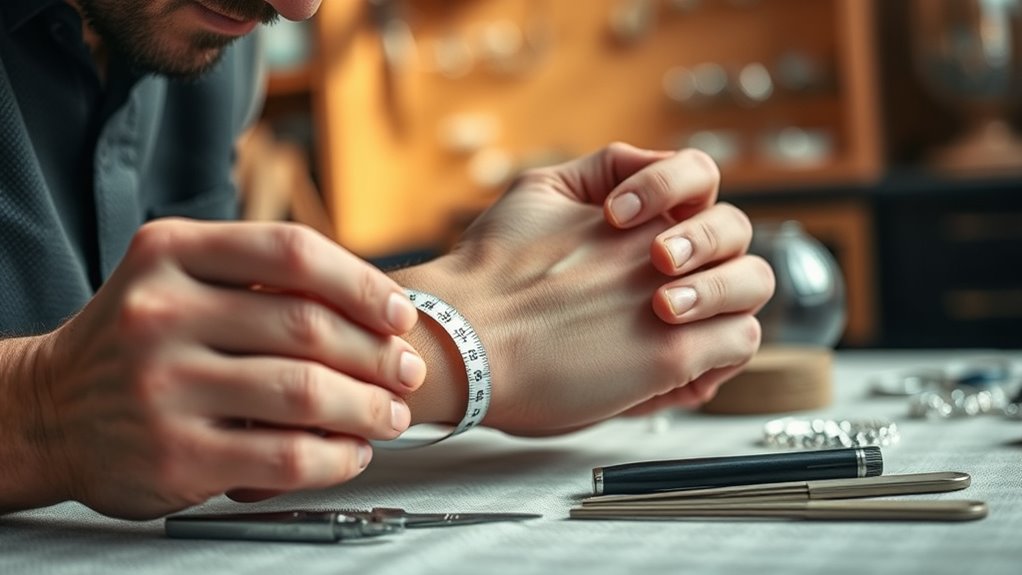
To get the perfect fit, you’ll need to measure your wrist or ankle carefully using a flexible tape.
Adding a bit of extra length guarantees the chain sits comfortably without feeling tight or loose.
This precise measurement lets the jeweler customize your chain for a seamless and secure fit.
Accurate Wrist or Ankle
How exactly do you get the perfect fit for your permanent jewelry?
Start by using a flexible measuring tape to get an accurate measurement of your wrist or ankle.
Measure where the jewelry will sit for a snug fit—not too tight or loose.
Record the measurement to the nearest millimeter, since the chain length is cut with precision.
Before cutting, double-check by wrapping the chain around your wrist or ankle to ensure comfort.
This careful process guarantees a seamless fit tailored just for you.
| Step | Tool Used | Purpose |
|---|---|---|
| 1. Measure | Flexible tape | Get circumference |
| 2. Position | Tape on wrist/ankle | Ensure snug fit |
| 3. Record | Note pad | Capture precise size |
| 4. Confirm | Chain | Double-check fit |
| 5. Cut chain | Technician’s tool | Match exact length |
Customized Chain Length
Although measuring your wrist or ankle precisely might seem simple, it plays an essential role in customizing the chain length for your permanent jewelry.
Using a flexible measuring tape, the technician determines the exact circumference needed to achieve a comfortable, customized fit.
Multiple measurements ensure accuracy before cutting the chain to the perfect length.
This precision is imperative because once the welding process secures the chain, adjustments aren’t possible.
Here’s what you should know about measuring for the perfect fit:
- Use a flexible measuring tape for accuracy.
- Take multiple measurements to confirm size.
- Customize chain length based on style and location.
- Make sure the chain isn’t too tight or too loose.
- Finalize length before the welding process.
This careful measuring guarantees your permanent jewelry fits comfortably and securely.
Preparing the Workstation and Tools

Before you begin welding permanent jewelry, you’ll need to set up a clean, stable workstation with all your tools within reach.
Start by arranging your work surface, ensuring it’s steady and equipped with a grounding or balancing block to hold the jewelry securely.
Proper grounding is essential, so connect your grounding wire to complete a safe electrical circuit for consistent welding.
Turn on your pulse-arc welder and set it to the correct power level for jewelry welding.
Position a protective welding screen, like an EVERSHIELD™, to guard your eyes and face from sparks and bright flashes.
Finally, gather all necessary tools—pliers, cutters, measuring tape, and polishing cloth—to streamline your preparation and guarantee an efficient workflow throughout the welding process.
Connecting the Chain Ends With a Jump Ring
When you’ve wrapped the chain around the wrist or ankle to find the perfect length, use jewelry pliers to grip the jump ring firmly on both sides of the chain ends.
Your goal is to connect the chain ends precisely with the jump ring, preparing it to be welded closed.
Follow these steps:
- Hold the jump ring securely with pliers on either side of the chain ends.
- Align the chain ends carefully inside the jump ring.
- Position the jump ring so it can be welded into a seamless loop.
- Double-check the jump ring is tightly closed and the chain ends meet perfectly.
- Ensure proper alignment before welding to guarantee the connection’s durability.
This careful setup is key to creating a strong, permanent jewelry piece.
Safety Measures During the Welding Process
When the welding starts, you need to wear safety glasses or a welding shield to protect your eyes from bright flashes.
It’s essential to make sure a leather patch is placed between the jump ring and your skin to prevent burns.
Also, the technician must follow strict safety protocols, like proper grounding and using argon gas, to keep the process safe and clean.
Protective Gear Usage
Although the welding process is precise, you must wear safety glasses or a welding mask at all times to shield your eyes from bright flashes.
Using the right protective gear not only safeguards your vision but also prevents burns and irritation.
Here’s what you should keep in mind:
- Wear safety glasses or a welding mask for eye protection.
- Use a heat-resistant patch between your skin and the jump ring to avoid burns.
- Ensure the welding station has a shield or screen, like an EVERSHIELD™, to block sparks.
- Confirm the welder is connected to an argon gas supply for clean, strong welds.
- Always use proper protective gear and follow training to minimize welding risks.
Following these steps keeps you safe while creating flawless permanent jewelry.
Welding Safety Protocols
Protecting your eyes and skin is just the start of staying safe during the welding process.
Always wear safety glasses or use a protective shield to guard your eyes from intense flashes.
Place a leather or heat-resistant patch between the client’s skin and the jump ring to prevent burns or irritation.
Make sure the technician follows strict safety standards and is trained to operate professional-grade equipment connected to argon gas.
This helps produce a clean, strong weld while minimizing fumes and sparks.
Keep a fire extinguisher within reach and clear the workspace of flammable materials to reduce fire risks.
Welding the Jump Ring to Create a Seamless Loop
A skilled technician carefully positions the jump ring on the chain to ensure perfect alignment before welding.
You’ll see that precise placement is essential to achieve a seamless connection.
Using a pulse-arc welder, the technician delivers a quick burst of energy that melts the jump ring ends, fusing them without solder.
This creates a continuous loop that’s both strong and discreet. The weld is nearly invisible, ensuring the jewelry looks flawless.
Key steps include:
- Positioning the jump ring accurately on the chain
- Applying a controlled pulse-arc weld to join ends
- Creating a seamless, continuous metal loop
- Completing the weld in less than a second
- Inspecting and cleaning the tiny seam for durability and smoothness
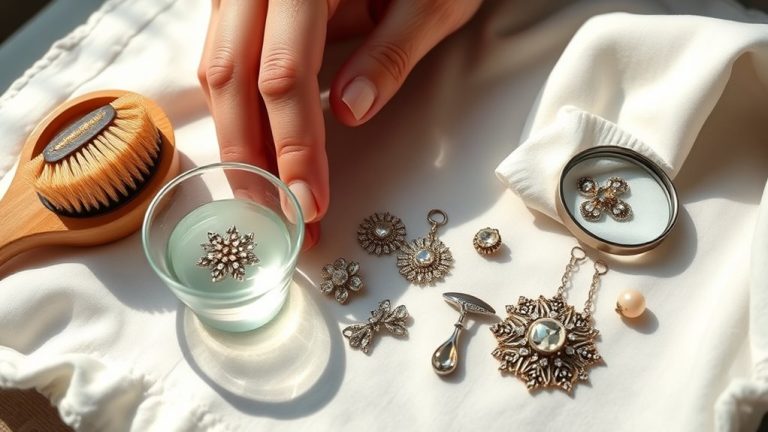
Polishing and Inspecting the Final Piece
Once the welding is complete, you’ll carefully polish the jewelry to bring out its shine and prepare it for final inspection.
Use a soft cloth or a polishing wheel to enhance the finish, making sure the surface gleams beautifully.
Next, inspect the final piece thoroughly. Check the weld for any gaps, rough edges, or inconsistencies that could affect durability or comfort.
A fiberglass brush helps smooth the weld area and removes any residual oxidation or discoloration.
You’ll also want to verify the jewelry’s overall appearance, ensuring it’s symmetrical and free of defects.
Finally, confirm the fit and comfort, making any necessary adjustments before the client wears the piece.
This careful polishing and inspection ensure the permanent jewelry looks perfect and lasts long.
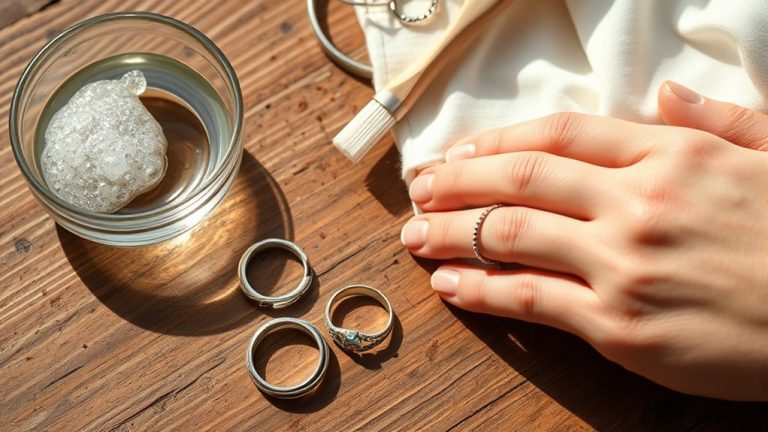
Caring for and Maintaining Permanent Jewelry
Since permanent jewelry is designed to be worn continuously, you’ll need to clean it regularly with a soft cloth and mild soap to keep its shine and prevent buildup.
Caring for jewelry like this requires attention to detail to ensure it lasts. When maintaining jewelry, follow these tips:
- Avoid harsh chemicals like chlorine or bleach that can damage metal.
- Remove your jewelry during activities that risk snagging or impact.
- Store it in a soft pouch or jewelry box when not worn.
- Schedule a professional inspection periodically to check the weld’s security.
- Clean gently and regularly to preserve its appearance.
Keeping your jewelry in top shape is all about being mindful!
Frequently Asked Questions
How Do They Put Permanent Jewelry on You?
They measure your wrist or ankle, fit the chain perfectly,
then use a pulse-arc welder to fuse the clasp seamlessly.
You’ll barely feel it, and the jewelry stays secure and comfortable all day long.
How Long Does Permanent Jewelry Actually Last?
Permanent jewelry usually lasts between 1 to 10 years, depending on the metal quality and how you care for it.
If you avoid harsh chemicals and wear it gently, you can enjoy its beauty much longer.
Can You Go in an MRI With a Permanent Bracelet?
Better safe than sorry—before your MRI, you should tell the technician about your permanent bracelet.
While many are MRI-safe, some metals can cause issues.
What Are the Downsides of Permanent Jewelry?
You’ll face challenges removing or resizing permanent jewelry since it’s welded shut.
It can irritate your skin, risk burns during welding, and tarnish over time.
Additionally, it might weaken or crack with trauma or wear.
Conclusion
Now that you know how permanent jewelry comes together step by step, you’re ready to enjoy a piece that’s as timeless as your favorite memory.
It’s not just jewelry—it’s a tiny miracle that stays with you through every moment, never fading or breaking.
With the right care, your permanent piece will shine endlessly, becoming a part of you that’s more reliable than the stars themselves.
Wear it confidently and cherish it forever!
Permanent jewelry isn’t just an accessory; it’s a lasting bond that reflects your journey.
So, embrace this unique artistry and let it accompany you through life’s ups and downs.
Cherish its brilliance and the memories it represents, knowing it will always be there, just like your fondest moments.
Invest in a piece that truly resonates with you and enjoy the everlasting beauty of permanent jewelry!