How to Make Permanent Jewelry in 10 Simple Steps
To make permanent jewelry, you’ll want to start by selecting a durable metal chain that reflects your personal style.
Next, measure your wrist or ankle precisely to ensure a perfect fit.
Cut the chain slightly longer than your measurement to give yourself some wiggle room.
After that, choose jump rings that match the thickness of your chain.
It’s time to attach the jump rings to both ends of the chain.
Then, set up your pulse-arc welder correctly and weld the jump ring seam for a seamless, strong bond.
Once you’ve completed the welding, polish the weld for a smooth finish.
Don’t forget to follow proper aftercare for lasting shine and durability.
Keep going to discover all expert tips and tricks that can elevate your permanent jewelry-making skills!
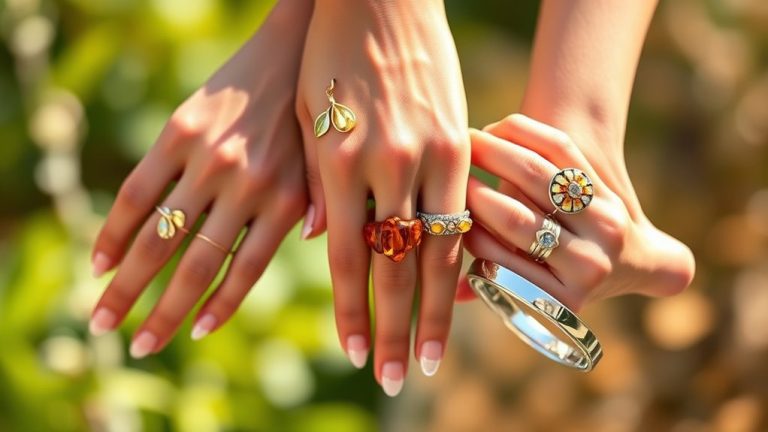
Choose the Right Chain Style and Metal
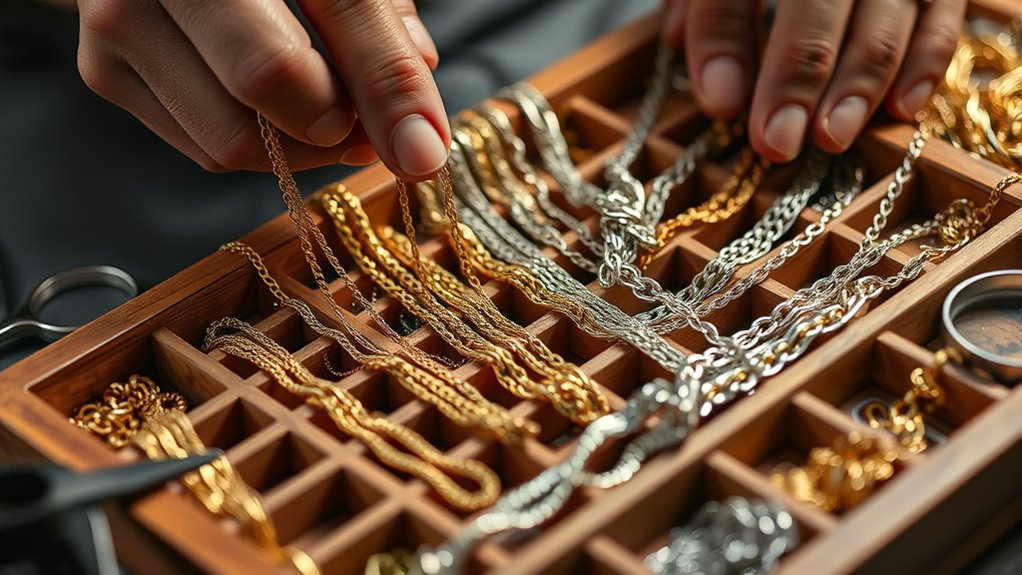
When choosing the right chain style and metal for your permanent jewelry, you should pick a design that fits your personal style and stands up to daily wear.
Start by selecting a chain style that complements your look—options like cable, Figaro, or curb links each offer a distinct vibe.
Next, focus on the metal type; sterling silver, gold-filled, and 14k gold provide durability and a refined finish.
Don’t forget to contemplate the metal color—yellow, white, or rose gold—to match your preference.
The chain’s thickness and style should suit your intended piece, ensuring it’s both eye-catching and durable.
Lastly, verify the metal quality and authenticity to guarantee your jewelry resists tarnishing and lasts over time.
This careful selection ensures your permanent jewelry reflects your style and endures daily wear.
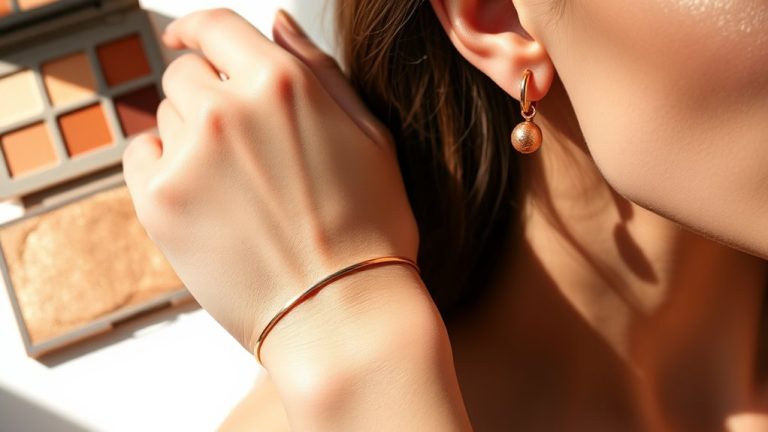
Measure the Wrist or Ankle for a Perfect Fit
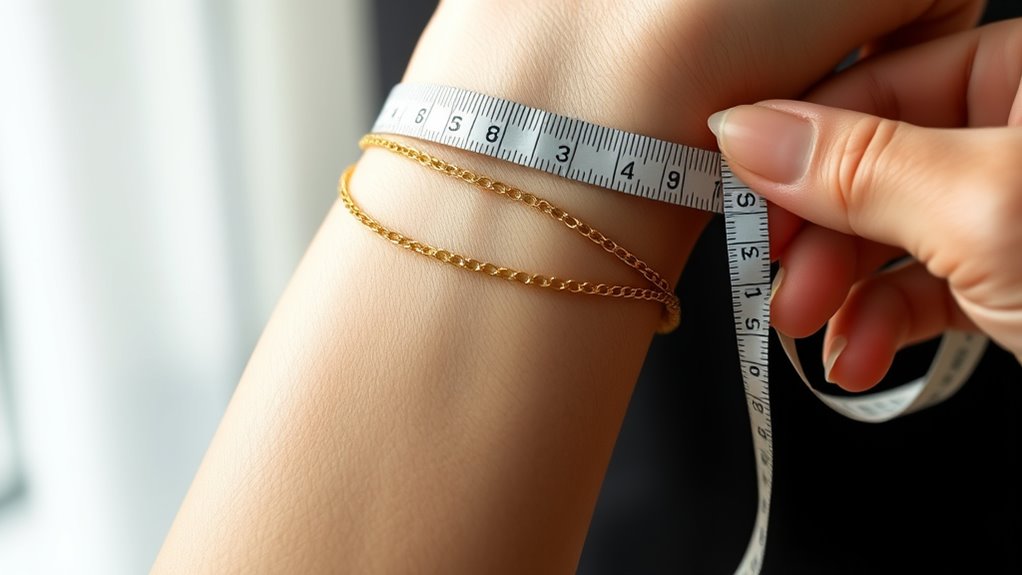
To get a perfect fit, start by using a flexible measuring tape to wrap snugly around the wrist or ankle without pinching.
Make sure you record your measurement accurately in millimeters or inches for precision.
Double-check your numbers before you cut the chain to avoid any mistakes.
Accurate Measuring Techniques
Although measuring may seem straightforward, using a flexible measuring tape that snugly wraps around the wrist or ankle guarantees you get an accurate size without it feeling too tight.
To ensure precise sizing, keep the tape flat and level, and record where it overlaps.
If a looser fit is preferred, add 1-2mm to your measurement.
Double-check by measuring twice and verifying with a ruler or chain of known length.
| Step | Tip |
|---|---|
| Use flexible tape | Wrap snugly, not too tight |
| Record measurement | Note where tape overlaps |
| Add allowance | +1-2mm for comfortable, looser fit |
| Double-check | Re-measure to confirm consistency |
| Verify | Use ruler or chain for accuracy |
Choosing Measurement Tools
Choosing the right measurement tools guarantees you get an accurate fit for your permanent jewelry.
Start with a flexible measuring tape to capture the exact circumference of the wrist or ankle where your piece will sit.
Make sure the measuring tape lies flat and straight, avoiding twists to assure accuracy.
When taking your wrist measurement, add 1-2mm to the length for a comfortable, snug fit that isn’t too tight.
Record the measurement in millimeters or inches, based on your chain’s specifications.
To avoid mistakes, measure twice or use a secondary tool for verification.
Cut the Chain to the Measured Length
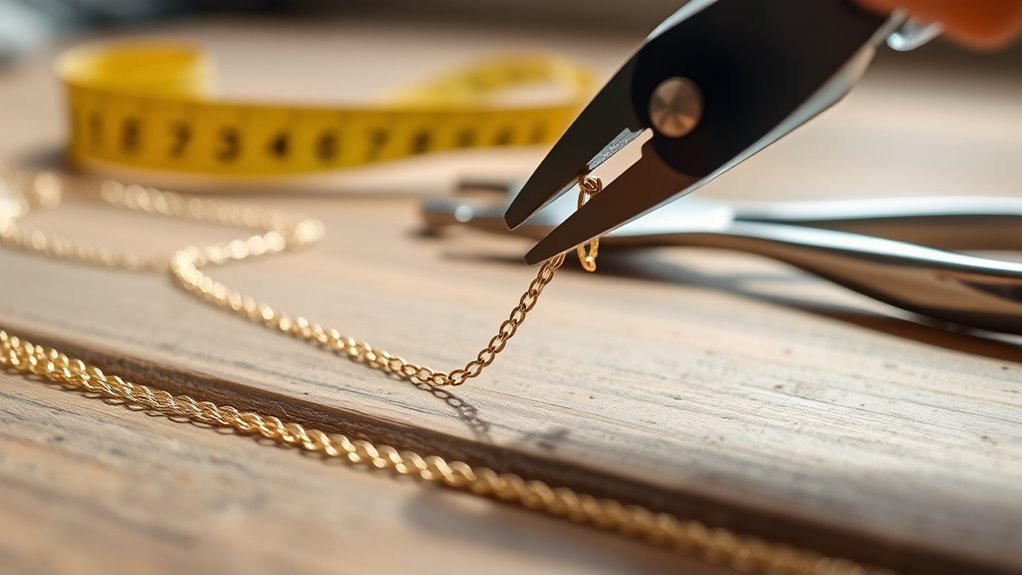
When you’ve measured the client’s wrist or ankle with a flexible tape, add an extra 1-2 millimeters to guarantee the chain sits comfortably without feeling tight.
Next, you’ll want to cut the chain to the measured length precisely.
Follow these steps to ensure accuracy and a neat finish:
- Use a jeweler’s ruler or calipers to mark the exact length on the chain.
- Double-check your measurement before cutting.
- Cut the chain at the mark using high-quality jewelry cutters.
- Make sure the cut edge is clean and straight.
- Re-measure the chain after cutting to confirm the length is correct.
Select and Prepare the Appropriate Jump Ring
Since jump rings connect the ends of your chain, you’ll want to pick ones that match its gauge and size perfectly to guarantee a secure and polished finish.
For most permanent jewelry, select jump rings in 22 or 24 gauge to complement your chain’s thickness.
Choose a diameter around 3mm, which fits comfortably with bracelet or anklet links.
Make sure the jump rings are made from durable metals like sterling silver, gold-filled, or 14k gold to ensure longevity and skin safety.
Also, check that each jump ring has a smooth, seamless closure to avoid gaps once welded.
Use the marked measurements on the packaging to confidently select the right outside diameter.
Properly preparing these jump rings sets a solid foundation for your permanent jewelry project.
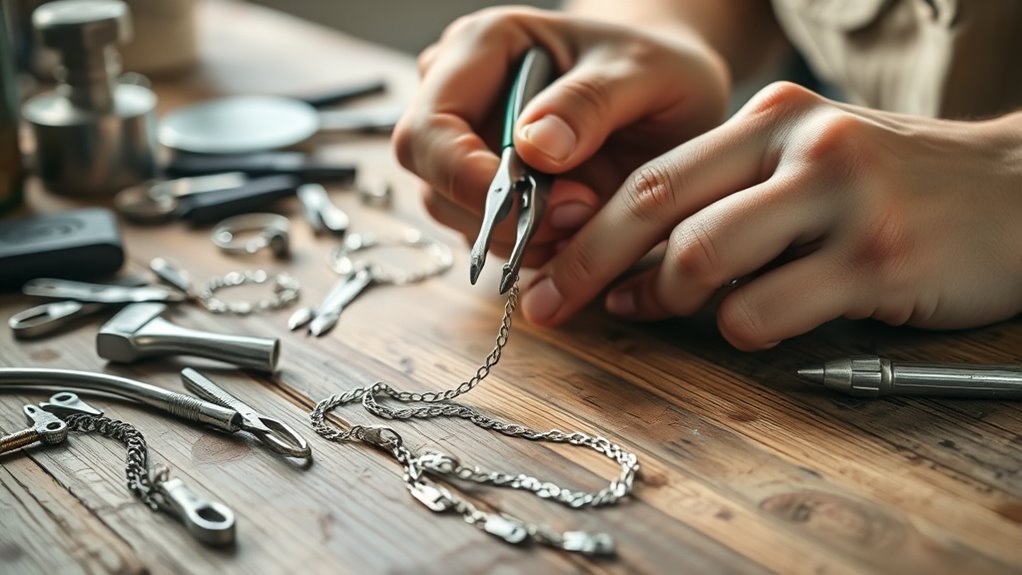
Attach the Jump Ring to Both Ends of the Chain
Before welding, hold each end of your chain firmly with pliers and position the jump ring carefully at the connection points.
Make sure the jump ring’s ends meet perfectly, with no gaps, to achieve a seamless weld.
Wrap the chain around your wrist or ankle to confirm the jump ring’s placement matches your desired fit.
Position the jump ring so its seam is accessible and aligned properly on the grounding block before welding.
You can use a small amount of flux or cleaning solution to clean the jump ring’s ends and remove any oxidation for a better connection.
Apply a bit of flux or cleaner to the jump ring ends to ensure a strong, oxidation-free weld.
- Secure each chain end with pliers
- Align jump ring ends tightly, no gaps
- Check fit by wrapping the chain
- Position jump ring seam for easy welding
- Clean jump ring ends with flux if needed
Set Up Your Workstation and Safety Equipment
After securing the jump ring perfectly to your chain, it’s time to prepare your workspace for welding.
Begin your workstation setup by organizing all your jewelry tools—keep pliers, jump rings, and polishing supplies within easy reach.
Position a protective welding screen like the EVERSHIELD™ to shield your eyes from bright flashes.
Wear essential safety equipment such as safety glasses or a hands-free OptiVISOR to protect your eyesight from sparks and intense light.
Set up a grounded or balanced work surface using a grounding block to ensure stability and safety during welding.
A clean, well-organized workstation not only boosts efficiency but also minimizes risks.
This way, you can focus confidently on crafting your permanent jewelry with precision and care.
Adjust the Pulse-Arc Welder Settings for Your Metal
When you adjust the pulse-arc welder settings, you’ll want to match the power level to the metal type and thickness for a strong, clean weld.
Different metals require different power settings to avoid weak joints or damage.
Here’s how to fine-tune your pulse-arc welder for various metals:
- Use about 6 joules for sterling silver jump rings sized 22 gauge, 3mm diameter.
- Increase power to 7-8 joules for thicker or harder metals like gold-filled or 14k gold.
- Lower settings slightly for delicate or small gauge jump rings to prevent damage.
- Test your power settings on scrap pieces to avoid blow-through or incomplete welds.
- Check weld strength by visual inspection and gentle tugging, then adjust power settings as needed.
Fine-tuning guarantees consistent, strong welds for your permanent jewelry.
Weld the Jump Ring Seam to Create a Continuous Loop
Once you’ve fine-tuned your pulse-arc welder settings to match your metal, position the jump ring so its ends align perfectly on a grounded welding block.
This precise placement is vital for a seamless join during the welding process.
Activate the welder to deliver a quick, controlled burst of energy—usually less than a second—to fuse the jump ring closed.
Make sure your settings match the metal type and gauge to secure a strong, gap-free weld.
The goal is a continuous loop with no visible breaks or overlaps at the seam.
By carefully controlling the energy and positioning, you’ll create a durable, permanent connection in your jewelry piece.
This step guarantees the jump ring maintains both strength and aesthetic appeal.
Inspect and Polish the Welded Connection
After welding, you’ll want to inspect the seam carefully to spot any gaps or weak spots.
Use a polishing brush to clean and smooth the area, removing oxidation and residue. Finally, check the weld’s strength by applying gentle pressure to guarantee a solid, seamless bond.
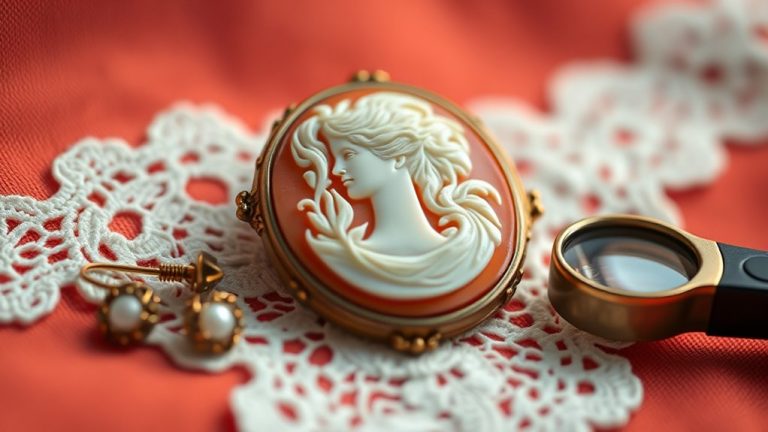
Weld Quality Inspection
How can you be sure your permanent jewelry will last without flaws?
Conduct a thorough weld inspection to guarantee weld quality and weld strength.
Start by examining the welded connection closely for any gaps, cracks, or weak spots.
Use proper lighting or magnification to spot fine imperfections that could compromise durability.
Gently tug on the link to test weld strength and confirm it’s securely fused.
Clean the weld area with a fiberglass or polishing brush to remove oxidation or residue, ensuring a smooth surface.
If you notice flaws, don’t hesitate to re-weld or touch up the connection for a professional finish.
- Inspect weld seams for cracks and gaps
- Use magnification and good lighting
- Test weld strength by tugging links
- Clean weld area with a polishing brush
- Re-weld if necessary for durability
Polishing Techniques
Although the weld may look solid, you should inspect it carefully under good lighting or magnification to spot any uneven or dull areas that need polishing.
Start by using a clean, soft polishing cloth to gently buff the welded connection, removing fingerprints and surface residues.
If you notice roughness or tool marks on the weld, employ a fiberglass brush to smooth those out for a cleaner finish.
To enhance the shine further, apply a small amount of jewelry polish or compound designed specifically for your metal type.
This not only boosts the weld’s brilliance but also protects it.
Remember to regularly clean and polish the weld with a soft brush and cloth during maintenance to keep your permanent jewelry looking sleek and professional.
Provide Aftercare Instructions for Longevity
To keep your permanent jewelry looking its best, you’ll want to clean it regularly with mild soap and water. This helps remove dirt and preserve its shine.
Proper aftercare is essential for the longevity of your piece. Avoid harsh chemicals like chlorine or bleach, as they can damage the metal.
Also, be sure to remove your jewelry before engaging in intense activities. This will help prevent any stress on the welds.
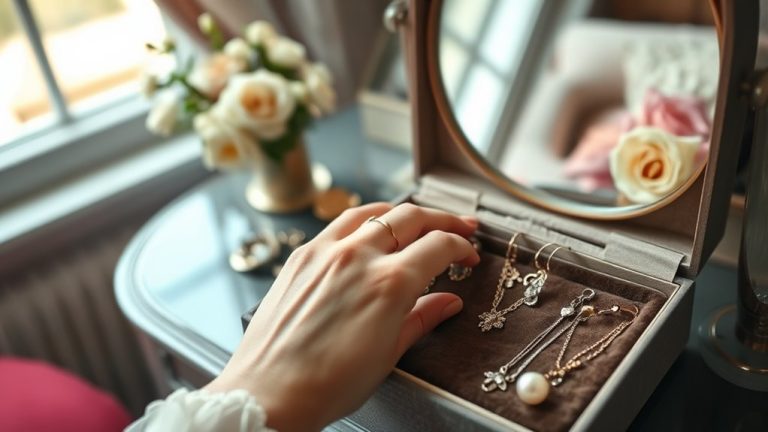
When it comes to storage, keep it safely in a soft pouch or jewelry box to avoid scratches.
Finally, it’s a good idea to schedule professional inspections every 6-12 months. This will help maintain its durability.
Here’s a quick recap:
- Clean with mild soap and water regularly.
- Avoid exposure to harsh chemicals.
- Remove before heavy exercise or sports.
- Store in a soft cloth pouch or jewelry box.
- Get professional inspections and cleaning biannually.
Frequently Asked Questions
What Do I Need to Make My Own Permanent Jewelry?
You’ll need high-quality chain or wire, a pulse-arc welder, pliers, cutters, jump rings, measuring tape, and safety gear like glasses and skin protectors.
Polishing cloths and cleaning brushes help finish your permanent jewelry perfectly.
It’s important to gather all these tools before you start your project!
How to Make Jewellery Step by Step for Beginners?
You’ll measure the wrist, cut the chain,
attach jump rings, then use a pulse-arc welder to fuse them seamlessly.
Finally, polish the piece and check the fit to verify it’s comfortable and secure for daily wear.
What Is the Process for Permanent Jewelry?
You measure and cut the chain, then connect the ends with a jump ring.
Using pliers and a pulse-arc welder, you weld the ring shut. This creates a seamless, durable, clasp-free piece that fits comfortably.
Can You Do Permanent Jewelry Without a License?
You can often do permanent jewelry without a license if you’re a hobbyist or small business owner, but rules vary.
Always check local laws to make sure you’re compliant.
Consider training to boost your skills and credibility.
Conclusion
Now that you’ve crafted your own permanent jewelry, think of it as your personal Excalibur—unique, strong, and made to last.
Just like King Arthur’s legendary sword, your piece symbolizes commitment and timeless style. With the right care, it’ll stay as flawless as the day you made it.
So wear it proudly, knowing you’ve forged something truly special.
This lasting treasure is all your own, representing your individuality and dedication.
Remember, taking care of your permanent jewelry ensures it continues to shine brightly.
Embrace the beauty and strength of your creation, as it’s more than just an accessory—it’s a statement of your unique journey and style.
As you wear it, cherish the moments it represents and enjoy its lasting elegance.