How to Make Gold Jewelry in 10 Simple Steps
Start by choosing the type of gold jewelry you want to create.
Gather all essential tools like pliers, saws, and soldering supplies.
Next, set up a clean, well-lit workspace for efficiency.
Understanding gold purity and alloy types is crucial to picking the best material for your design.
Take some time to learn basic techniques such as filing and soldering, then practice regularly.
As you progress, focus on mastering assembling and finishing skills, which include polishing and engraving.
Remember to keep your pieces properly stored to maintain their shine.
Keep going to discover detailed tips and tricks that will help you perfect your craft.
Happy crafting!
Choose the Type of Gold Jewelry to Make
Before you begin crafting, decide what type of gold jewelry you want to make—whether it’s simple chains or intricate rings and pendants.
Start by choosing the style of gold jewelry you wish to create, from delicate chains to detailed rings and pendants.
As a jewellery maker, you need to choose the type of gold jewelry to make based on your skills and design goals.
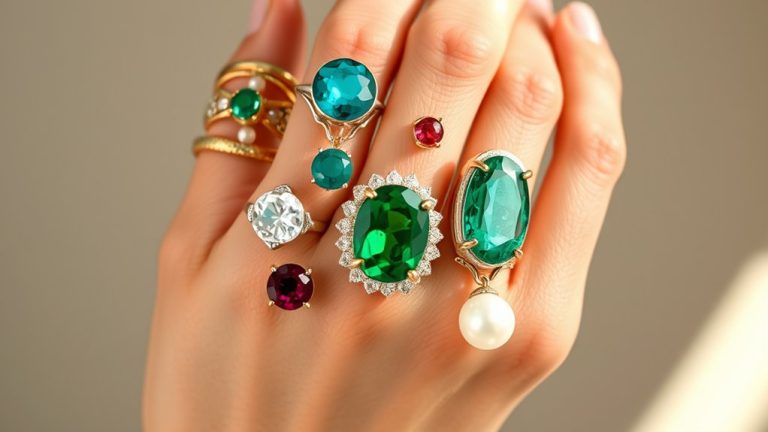
Consider the gold purity level, like 14ct or 18ct, which affects color, durability, and budget.
Also, select the gold alloy color—yellow, white, or rose—that best suits your style.
Think about the specific jewelry pieces you want to create, such as earrings, bracelets, or necklaces, since each demands different techniques.
Research current market trends to ensure your designs appeal to buyers.
Making these decisions upfront will streamline your creative process and help you craft pieces that shine.
Gather Essential Tools and Materials
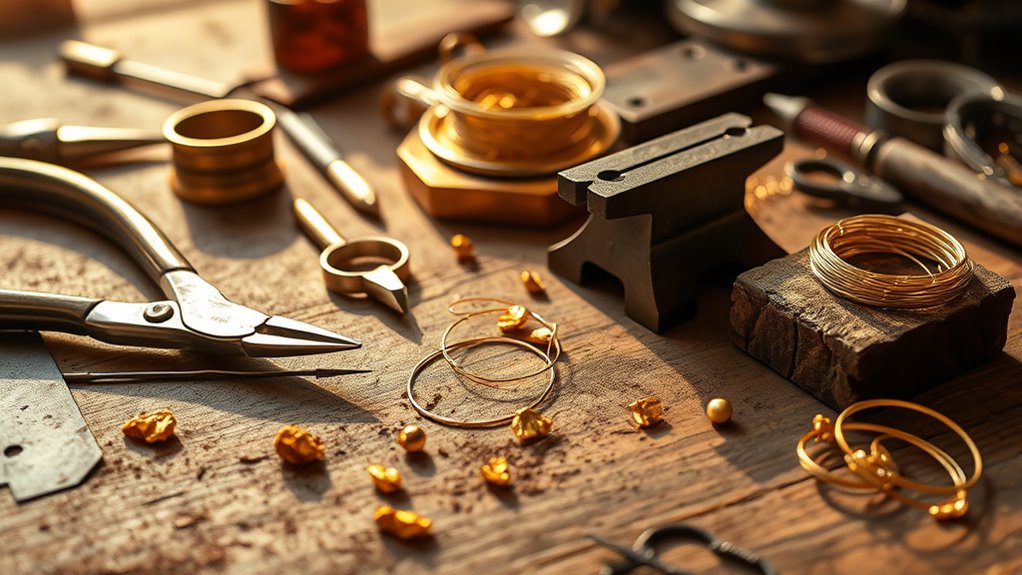
Though crafting gold jewelry requires skill, having the right tools and materials makes the process much smoother.
When making jewelry, you need good quality supplies tailored to your chosen type of jewelry.
Whether you’re a complete beginner or a seasoned jewelry maker, gathering everything you need is the next step after choosing the type.
- Basic tools: jeweller’s saw, flat and round nose pliers, wire cutters, and files are essential for shaping and finishing your gold piece.
- Pure gold materials: select high-purity gold wire, sheets, or casting material from 14k to 24k depending on your design.
- Soldering essentials: torch, flux, and charcoal block for joining and shaping your gold jewelry.
Getting started with these will ensure your jewelry-making journey is efficient and enjoyable.
Set Up Your Dedicated Workspace
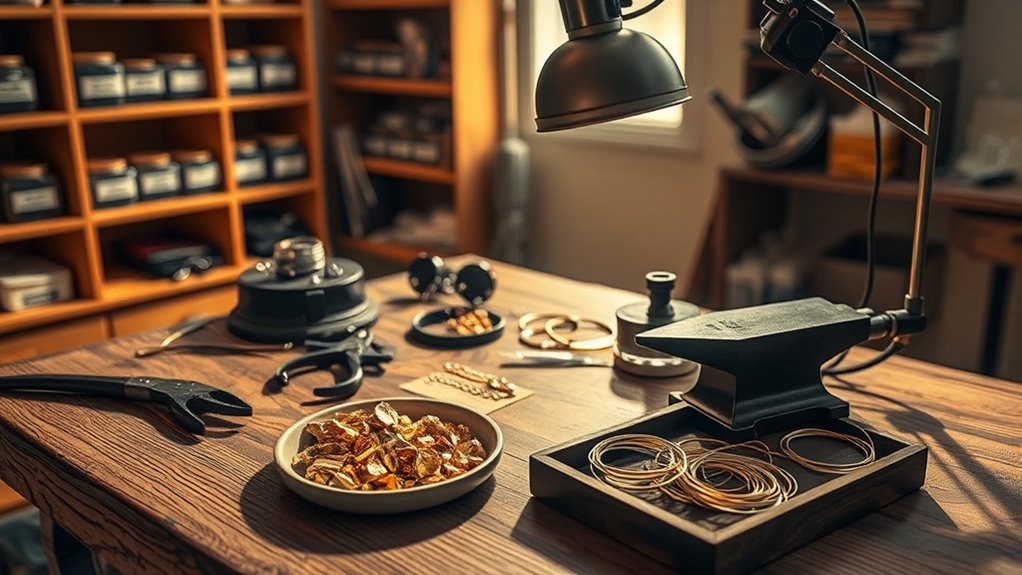
Set up your workspace in a comfortable, well-ventilated area with a sturdy surface to work on.
Organize your tools within easy reach to keep everything efficient and accessible.
Make sure you have bright, adjustable lighting to see every fine detail clearly while you work.
Choose Comfortable Location
When you choose a comfortable location for making gold jewelry, pick a well-lit, dust-free area like a dedicated corner or sturdy table.
This guarantees you can focus on delicate details without distractions.
To create an ideal workspace, consider these essentials:
- Adequate ventilation – especially important if you use torches or chemicals in gold crafting.
- A clean, clutter-free surface – helps prevent losing small gold pieces and keeps your work safe.
- Designated zones – separate areas for casting, polishing, and assembly improve workflow and reduce cross-contamination.
Organize Tools Efficiently
After choosing a comfortable location, focus on arranging your tools to keep everything within easy reach.
Designate a dedicated area in your home or workshop as your jewelry-making workspace.
Use storage containers, racks, or drawers to separate items like pliers, files, and polishing cloths.
Keep frequently used tools on a sturdy workbench to reduce clutter and speed up your workflow.
Regularly clean and tidy your workspace to protect tools and maintain safety.
| Tool Type | Storage Method |
|---|---|
| Pliers | Tool rack |
| Files | Drawer divider |
| Polishing cloths | Small containers |
| Tweezers | Magnetic strip |
| Soldering iron | Heat-resistant stand |
Ensure Adequate Lighting
Although organizing your tools is essential, ensuring adequate lighting is just as crucial for crafting gold jewelry with precision.
Proper lighting reduces eye strain and helps you see fine details clearly, making your work more accurate and enjoyable.
To set up ideal lighting, follow these steps:
- Use natural daylight or daylight-balanced LED lights to accurately assess metal color and gemstone sparkle.
- Position your light source overhead, directly above your workspace, to minimize shadows and glare.
- Choose adjustable lighting so you can focus on intricate areas like engraving or stone setting with precision.
Bright, consistent illumination ensures you measure, cut, and finish your pieces flawlessly.
This enhances the overall quality of your gold jewelry.
Understand Gold Purity and Alloy Types
When making gold jewelry, you need to know that gold purity is measured in karats, with 24 karats being nearly pure gold.
Since pure gold is soft, you’ll often work with alloys like 18ct, 14ct, or 9ct. These alloys mix gold with metals like copper or silver to add strength.
They also change the color and durability of your piece, so choosing the right one is key.
Gold Purity Levels
How do you know if your gold jewelry is truly valuable?
It all comes down to gold purity, measured in carats (ct). Pure gold is 24ct, meaning it’s 99.9% gold, but it’s too soft for everyday wear.
To improve durability, pure gold mixes with other metals, affecting both strength and color.
Here’s what you should remember about gold purity levels:
- 22ct gold contains 92% pure gold, offering a rich color but more durability than 24ct.
- 18ct gold is 75% gold, balancing purity with strength, making it popular for fine jewelry.
- 14ct gold holds 58.5% gold, providing excellent durability but a lighter gold tone.
Understanding these levels helps you pick jewelry that suits your style and needs.
Common Gold Alloys
Understanding gold purity levels gives you a solid foundation, but the look and feel of your jewelry also depend on the alloys mixed with gold.
Different alloys create distinct colors and properties. For example, yellow gold blends gold with silver and copper. White gold uses palladium or nickel and often gets rhodium plating, while rose gold owes its pinkish hue to copper.
| Alloy Type | Common Metals Added | Characteristics |
|---|---|---|
| Yellow Gold | Silver, Copper | Classic, warm tone |
| White Gold | Palladium, Nickel | Silvery, durable, rhodium-plated |
| Rose Gold | Copper | Pink/red hue, rich color |
| 18k Gold | 25% Alloy Metals | Balanced purity and strength |
| 14k Gold | Higher Alloy Content | More durable, less pure |
Choosing the right alloy impacts durability, color, and price.
It’s important to consider these factors when selecting your jewelry.
Learn Basic Jewelry Making Techniques
Since mastering basic jewelry-making techniques forms the foundation for crafting beautiful gold pieces, you’ll want to start by learning essential skills like filing, soldering, polishing, and engraving patterns.
Master basic jewelry skills like filing, soldering, polishing, and engraving to craft stunning gold pieces with confidence.
These skills guarantee your work looks professional and lasts.
Begin by practicing accurate measuring and marking to achieve perfect fit and symmetry.
Use the right tools—such as a jeweller’s saw, files, and a torch—to make precise cuts and joins.
Remember, safety is key: always work in a well-ventilated area and handle hot tools and chemicals carefully.
To get started effectively, follow step-by-step tutorials that build your confidence and technique.
Focus on:
- Filing and shaping metals smoothly
- Soldering clean, strong joints
- Polishing and engraving for a refined finish
These basics will set you up for success.
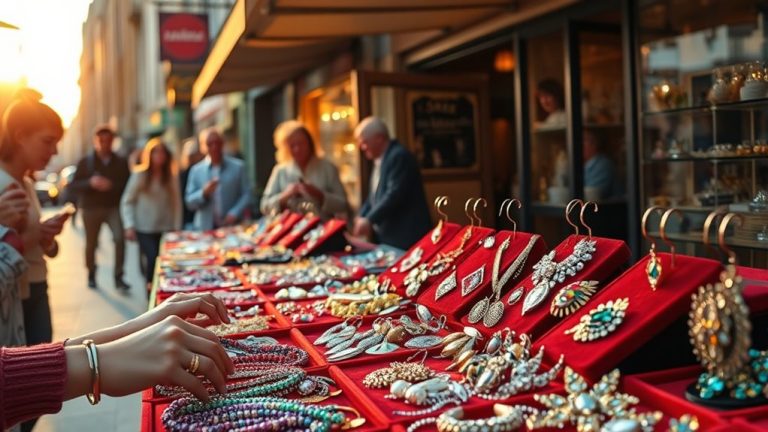
Explore Design Inspirations and Styles
Start by exploring online galleries and social media to find gold jewelry styles that catch your eye.
Try combining different materials and shapes using design apps to see what unique pieces you can create.
Don’t hesitate to draw inspiration from nature, culture, or architecture to make your designs stand out.
Sourcing Creative Ideas
Where can you find the spark that ignites your next gold jewelry design?
Start by immersing yourself in diverse sources to fuel your creativity.
Here’s how you can source fresh ideas:
- Browse online galleries, Pinterest, and design websites to spot trending and unique gold jewelry styles.
- Draw inspiration from nature, architecture, fashion, and travel to build a rich mood board reflecting various influences.
- Study both traditional and contemporary gold pieces, noting techniques, motifs, and cultural elements that resonate with you.
Keep a sketchbook or digital folder handy to jot down ideas and color schemes.
Also, consider attending jewelry exhibitions or craft fairs to witness craftsmanship firsthand.
These steps will help you develop a distinct style that’s both innovative and rooted in history.
Experimenting With Materials
Although finding inspiration is essential, experimenting with materials truly brings your gold jewelry designs to life.
Start by exploring different gold purities like 14ct and 18ct to achieve unique colors and strengths.
Don’t hesitate to mix yellow, white, and rose gold alloys to expand your style options and add depth to your creations.
Incorporate gemstones, beads, or textured metals to personalize each piece and make it stand out.
Draw ideas from nature, architecture, fashion, or travel to guide your material choices.
Use digital tools like Pinterest or jewelry design apps to visualize your concepts before crafting.
Practice Key Crafting Skills Regularly
How often you practice key crafting techniques like soldering, filing, and polishing directly impacts your skill development.
Consistent repetition builds muscle memory and sharpens your precision. This lays the groundwork for more complex projects later.
To effectively practice, focus on these three steps:
- Dedicate regular sessions to small projects, like simple rings or pendants, to reinforce fundamentals.
- Analyze mistakes carefully and adjust your approach to avoid repeating errors.
- Gradually increase the difficulty of your projects only after mastering basic skills.
Happy crafting!
Master Chain Craftsmanship and Assembly
Building on your practiced skills, you can now focus on mastering chain craftsmanship and assembly.
Start by pulling and straightening gold wire to a uniform thickness. Then, wind it around mandrels to create individual rings.
Cut and file each ring’s ends smooth before connecting them using flat nose pliers to form the chain.
Carefully weld or solder each link and clasp, using the right flux and torch to guarantee security.
Finally, polish the chain to achieve an even, flawless finish.
| Step | Key Action |
|---|---|
| Wire Preparation | Straighten and cut gold wire |
| Ring Formation | Wind, cut, and file ends |
| Assembly | Connect, solder, and polish chain |
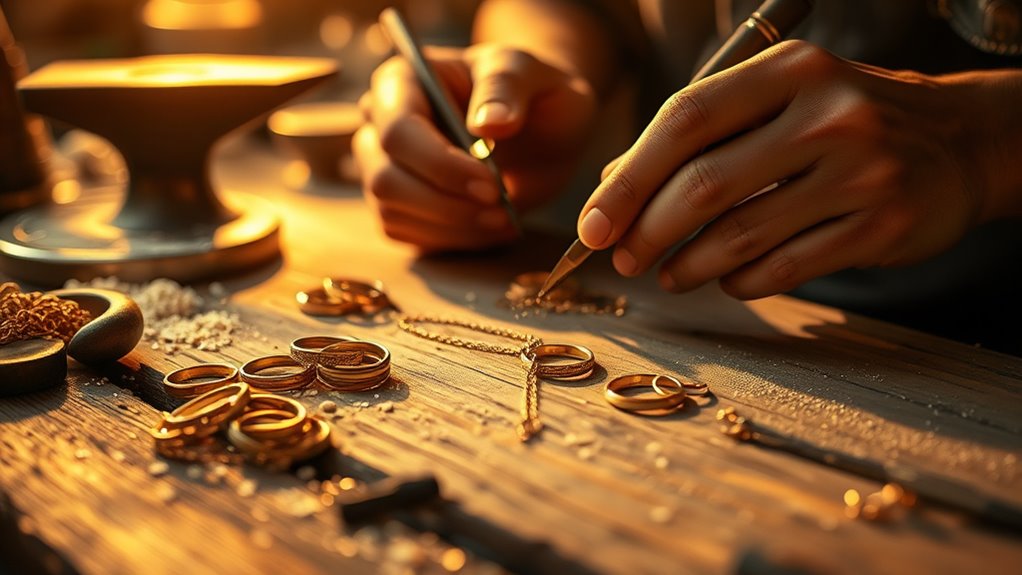
Apply Engraving and Surface Finishing Methods
When you apply engraving and surface finishing methods, you’ll transform your gold jewelry from simple to stunning.
Start by securing your piece firmly using a wooden base or double-sided tape to prevent slips.
Then, follow these steps:
1. Adjust the carving tool’s angle and depth with precision, using a lever and a carving knife with a power switch to create detailed patterns.
Confirm your chain or piece lies flat for accuracy.
2. Carve patterns carefully, employing wintergreen oil and knives to enhance design details without damaging the gold.
Take your time with this step to make sure every detail is just right.
3. Finish by filing with coarse and fine files to remove burrs, sweep away metal powder, and polish with a disc.
This smooths scratches, giving your jewelry a professional, shiny appearance.
These techniques ensure your gold piece looks refined and eye-catching.
Trust me, your jewelry will be the talk of the town!
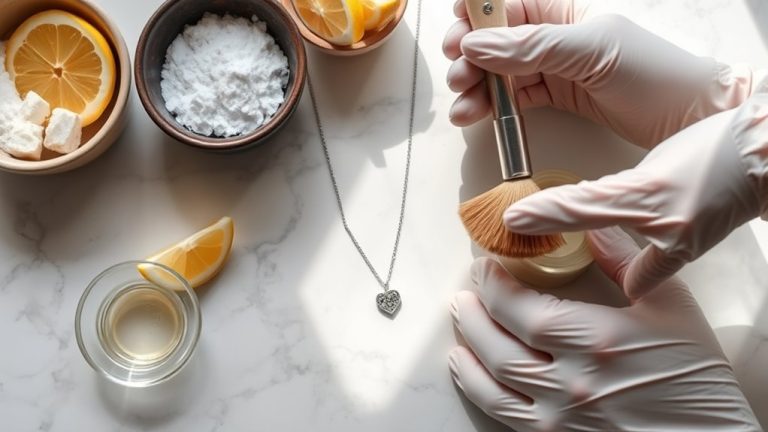
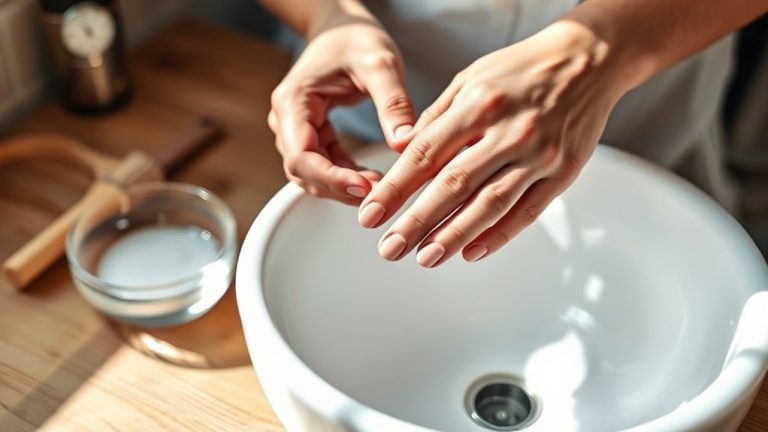
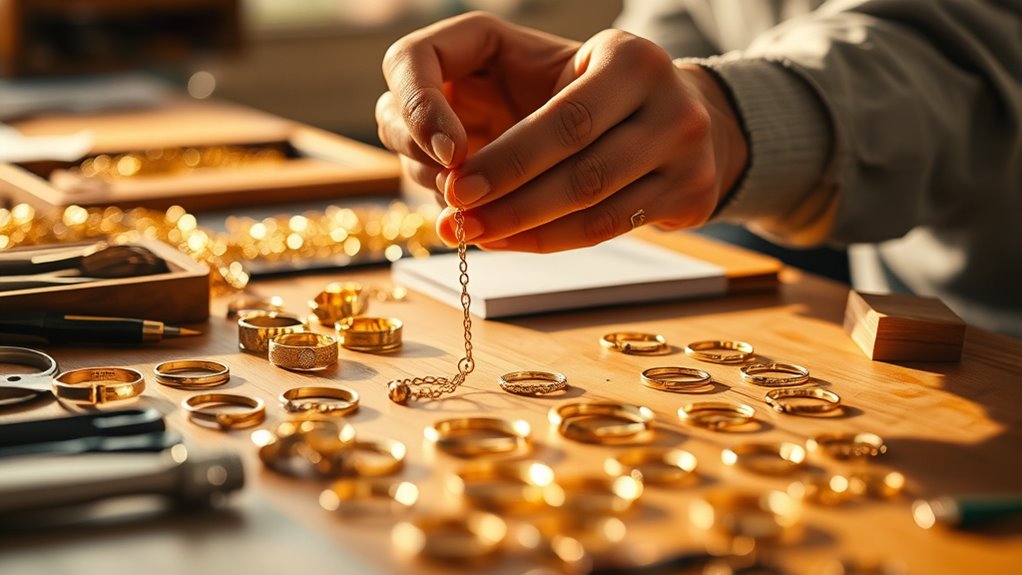
Store and Maintain Your Gold Jewelry Properly
Although gold is a durable metal, you’ll want to store and maintain your jewelry carefully to keep it looking its best over time.
Store each piece separately in soft cloth pouches or airtight containers to avoid scratches and tarnishing.
Using a jewelry box with multiple compartments helps keep your items organized and prevents them from tangling.
Wrapping pieces in anti-tarnish paper or soft cloth before storing preserves their shine.
Keep your gold jewelry away from humidity, chemicals, and direct sunlight, as these can cause deterioration.
To maintain its luster, clean your jewelry regularly with a mild soap solution and a soft cloth.
Following these simple steps ensures your gold jewelry stays beautiful for years to come.
Frequently Asked Questions
How Is Gold Jewellery Made Step by Step?
You start by melting gold.
Then, pour it into molds and shape the pieces together.
After that, you’ll solder them to secure their structure.
Next, you’ll add details like clasps or engravings to enhance the design.
Finally, polish everything smoothly and finish with a shine that makes your jewelry sparkle beautifully.
How to Make Jewellery Step by Step for Beginners?
You’ll start by choosing your materials and basic tools.
Cut and shape your pieces carefully, then join them using safe soldering techniques.
Finally, polish and inspect your jewelry to guarantee it looks perfect and ready to wear.
Can I Make My Own Gold Jewelry at Home?
You can make gold jewelry at home, but melting pure gold needs high heat and special tools, which are tricky for beginners.
Instead, try working with gold-plated or gold-filled materials to create beautiful pieces safely and easily.
It’s a fun and creative way to express yourself without the complexities of working with pure gold!
What Is the Easiest Jewelry to Start Making?
You’d think starting with a quill and parchment, but actually, beading jewelry is the easiest to start.
It’s quick, needs minimal tools, and helps you build skills before you plunge into complex designs or metalwork.
Conclusion
Now that you’ve revealed the secrets to crafting stunning gold jewelry, your creativity can shine brighter than the precious metal itself.
With patience and practice, each piece you make will tell a unique story, reflecting your passion and skill.
Remember, every masterpiece starts with a single step—so keep honing your craft.
Let your jewelry sparkle like the treasure it truly is.
Your golden journey has just begun!
As you continue to explore the art of gold jewelry making, embrace the process.
Each creation is an opportunity to express yourself and showcase your unique style.
With dedication and a willingness to learn, you’ll find joy in every piece you craft.
So, get ready to unleash your creativity and make your mark in the world of gold jewelry!