7 Steps to Do Yourself Permanent Jewelry at Home
To make permanent jewelry at home, you’ll need to gather some essential materials. Start with high-quality chain, jump rings, a pulse-arc welder, and pliers.
Choose your metal and chain style carefully, ensuring both durability and comfort for everyday wear.
Next, measure your wrist or ankle precisely, as accuracy is key.
Cut the chain just right, adding a bit extra for movement.
Now, secure the jump ring and connect the chain ends with an easy-lock closure.
Finally, check the fit to ensure it’s both secure and comfortable.
Keep exploring for detailed tips to perfect your piece, and enjoy the process of creating your own unique jewelry!
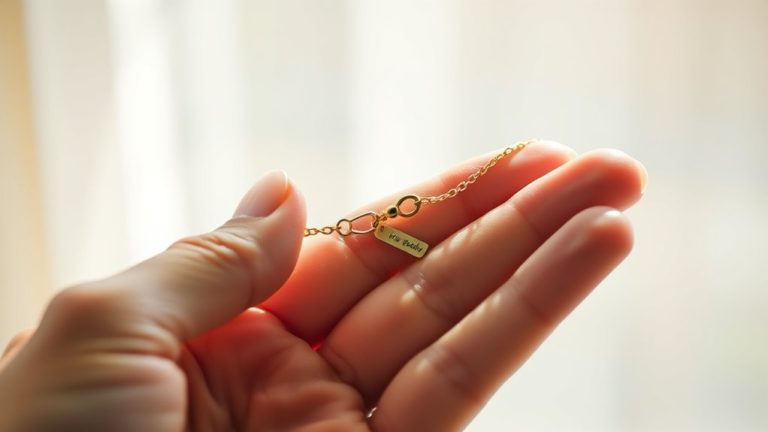
Gather the Necessary Supplies
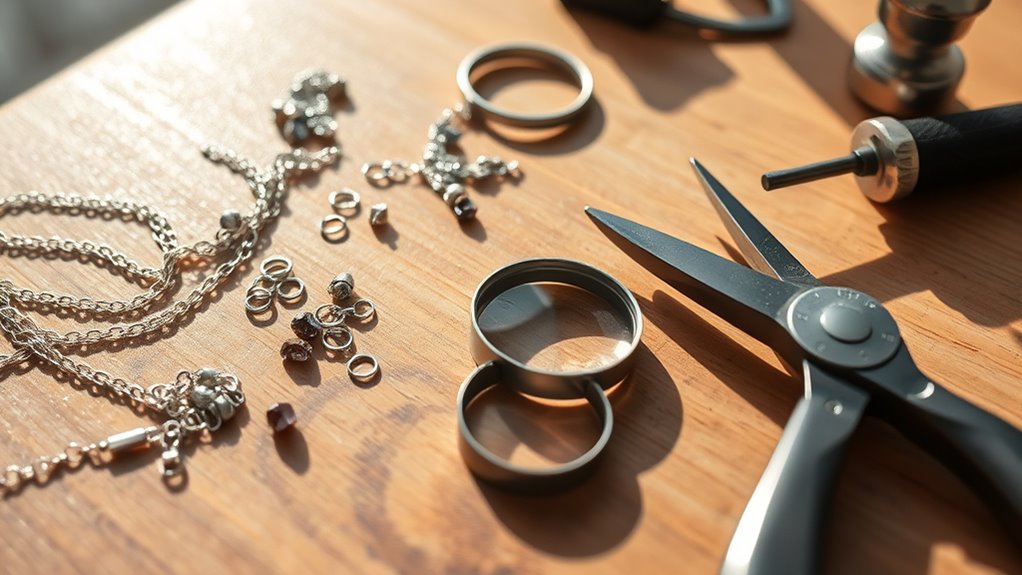
To get started on your permanent jewelry project, gather all the essential supplies you’ll need.
First, choose a high-quality chain made from durable metals like gold-filled or sterling silver, cut to your desired length.
Next, secure a pulse-arc welder or a mini welding tool designed specifically for jewelry welding to create a strong, permanent bond.
You’ll also want small jump rings or connectors in matching metals to attach charms or close the chain ends neatly.
Have precision pliers—needle-nose or flat-nose—ready to open and close jump rings with accuracy.
And don’t forget safety gear such as protective glasses and a heat-resistant mat to make certain you stay safe throughout the welding and assembly process.
With these supplies, you’re set for success.
Choose Your Chain Style and Metal
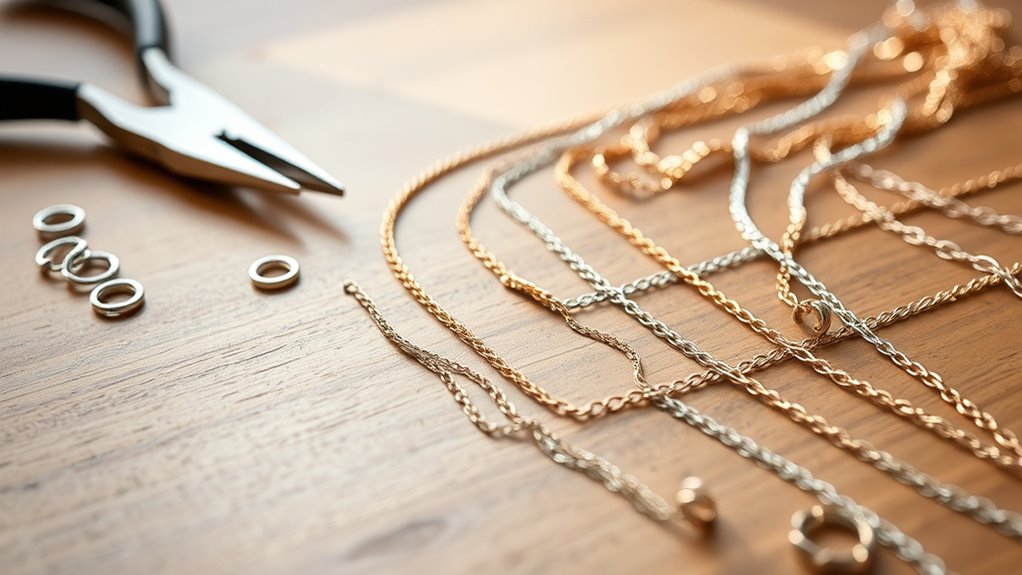
Picking the perfect chain style and metal sets the foundation for your permanent jewelry.
Choose a chain style like cable, flat cable, or paperclip based on your aesthetic and comfort preferences.
Next, select a metal type such as 14K gold-filled, sterling silver, or stainless steel to guarantee durability and skin safety.
Consider the chain’s thickness to achieve the right fit for your wrist, ankle, or neck.
Make sure it matches the metal of your charms and jump rings to keep a cohesive look and avoid allergic reactions.
Opt for a high-quality chain with smooth links; this not only enhances durability but also makes welding easier.
This results in a seamless, permanent finish you’ll love wearing every day.
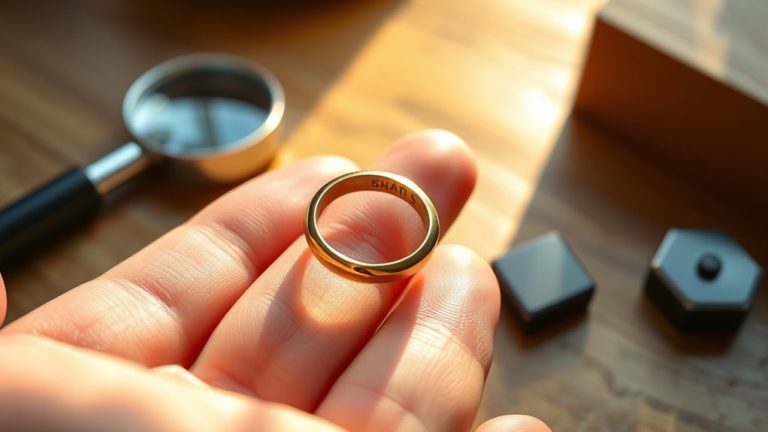
Measure Your Wrist or Ankle Precisely
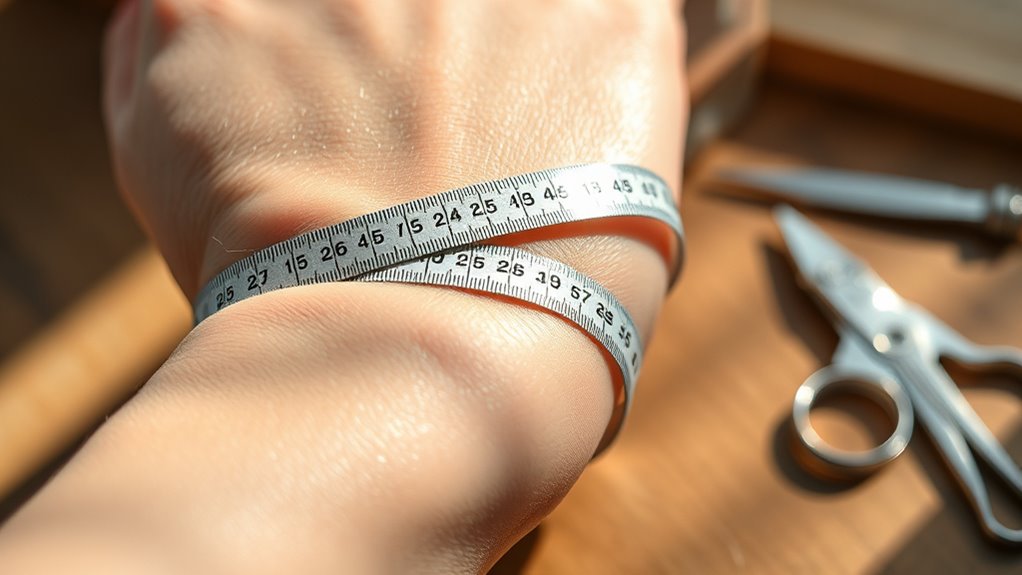
Since accurate sizing guarantees your permanent jewelry fits comfortably and securely, you’ll want to measure your wrist or ankle carefully.
Start by wrapping a flexible measuring tape around your chosen spot, making sure it lies flat without being too tight or loose.
Note the point where the tape overlaps to get your wrist measurement.
To be precise, avoid stretching the tape and measure multiple times, then take the average.
If you don’t have a measuring tape, use a string or paper strip, mark the overlap point, and measure that length against a ruler.
This method guarantees you get an exact length for your permanent jewelry, helping it fit just right without any discomfort or risk of slipping off.
Cut the Chain to Your Desired Length
Start by adding an extra 1-2 inches to your wrist or ankle measurement to guarantee your chain fits comfortably and allows for easy movement.
Once you have your total length, it’s time to cut the chain. Follow these steps for a clean and precise cut:
- Measure your wrist or ankle accurately with a flexible ruler or measuring tape.
- Use sharp jewelry scissors or wire cutters designed for metal to cut the chain at the desired length.
- Double-check the chain length by fitting it around your wrist or ankle before proceeding.
Cutting the chain carefully ensures your permanent jewelry fits perfectly and feels comfortable.
Keep the cut pieces organized for the next step.
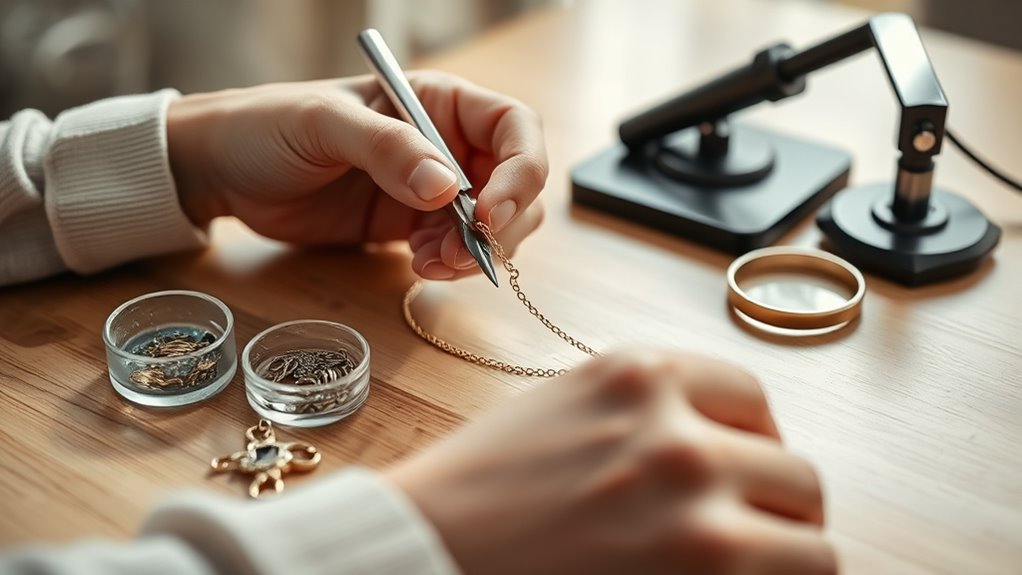
Attach the Jump Ring Securely
Before attaching the jump ring, grip it firmly with pliers on opposite sides. This helps you maintain control while opening it, which prevents distortion and guarantees precision.
Next, thread the jump ring through the chain link and the other chain end. Make sure it fits snugly.
To secure the jump ring, carefully close it using the pliers. Align the ends perfectly without gaps.
Then, gently squeeze the jump ring closed for added security. This will help prevent it from slipping open over time.
Always double-check that the jump ring is fully closed and flush. This ensures your jewelry stays permanent and safe.
Taking these steps will help you attach the jump ring securely, creating a strong connection in your chain that lasts.
Connect the Chain Ends Using the Easy-Lock Closure
After securing the jump ring tightly, the next step is to connect the chain ends using the easy-lock closure.
First, align the chain ends precisely to ensure a secure fit and a seamless look.
Then, insert both ends fully into the easy-lock closure.
Finally, use the mini-pliers to gently press the closure until it clicks, locking the chain securely without damage.
- Align the chain ends for comfort and security.
- Insert ends completely into the easy-lock closure.
- Use mini-pliers to press and lock the closure firmly.
Make sure the closure is fully closed and the chain taut, with no gaps.
Give a gentle tug to confirm the connection holds firmly.
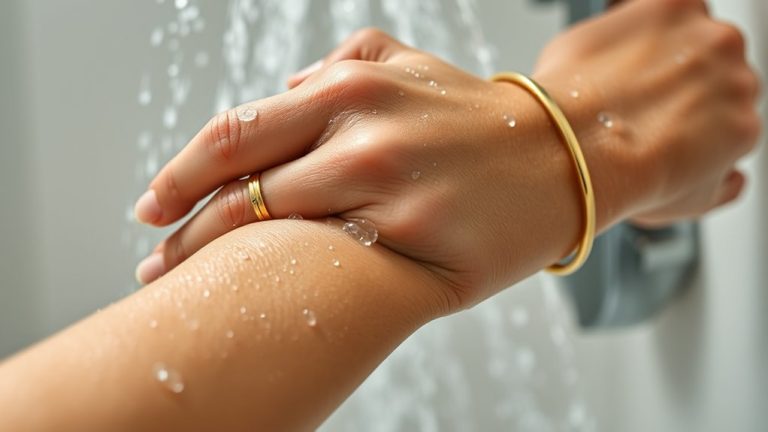
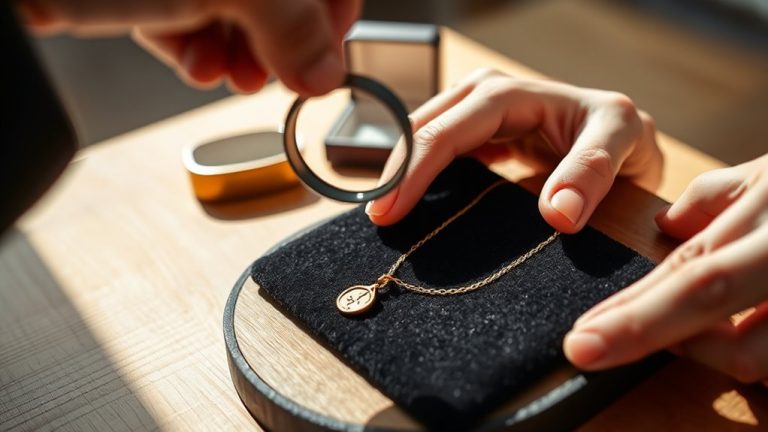
Check the Fit and Finalize Your Jewelry
One essential step is to check the fit of your permanent jewelry carefully to guarantee it feels comfortable and secure.
Start by measuring your wrist, neck, or ankle accurately with a flexible ruler or tape.
After connecting the chain ends, double-check the fit. Make sure it has slight slack but isn’t too loose to slip.
Use chain adjustments or extenders for the perfect fit. Once satisfied, finalize by welding the jump ring securely.
This ensures your jewelry stays comfortably in place for daily wear without pinching or loosening.
| Step | Action | Purpose |
|---|---|---|
| Measure | Use flexible ruler/tape | Accurate sizing |
| Connect Ends | Attach chain with jump ring | Test initial fit |
| Check Fit | Ensure slight slack | Prevent slipping or tightness |
| Adjustments | Use extender or links | Personalize fit |
| Finalize | Weld securely | Secure for daily wear |
Frequently Asked Questions
What Do I Need to Do Permanent Jewelry at Home?
You’ll need a professional pulse-arc welder, durable chain like gold-filled or sterling silver, measuring tools, pliers, jump rings, protective glasses, and a leather barrier.
Follow safety steps closely to fuse your jewelry securely at home.
It’s important to gather all the necessary tools and materials before you start.
That way, you can ensure a smooth and successful process!
What Is the 2:1:1 Rule in Jewelry?
When it comes to design, the 2:1:1 rule keeps you on the same page by balancing materials—two parts main, one part secondary, and one part tertiary.
This ensures your jewelry shines without looking like a hot mess.
By following this simple guideline, you can create harmonious and visually appealing pieces that stand out.
What Type of Chain Do You Use for Permanent Jewelry?
You use gold-filled or sterling silver chains for permanent jewelry, typically 2mm x 5mm drawn flat cable, footed rectangle, or paperclip styles.
These metals guarantee durability and hypoallergenic comfort, which is great for everyday wear.
Plus, they offer a sleek, modern look that never goes out of style.
Can You Do Permanent Jewelry Without a License?
You can do permanent jewelry without a license if it’s for personal use.
But don’t assume that applies everywhere.
Always check your local laws, because offering services professionally often requires certification or licensing to stay legal and safe.
Conclusion
Now that you’ve woven your sparkle into a seamless loop, your permanent jewelry isn’t just an accessory—it’s a heartbeat wrapped around you.
Like a secret whispered between your skin and style, it stays close, shining with every move you make.
So wear it proud, knowing you crafted more than metal; you forged a lasting rhythm of beauty and confidence, shining bright in your everyday dance.
Your jewelry story starts here—keep it glowing.
Embrace your unique creation as a reflection of your style.
This permanent jewelry isn’t just a trend; it’s a symbol of your artistry and individuality.
Wear it as a reminder of your journey and the confidence you’ve built.
Now, go out and let your permanent jewelry shine, telling your story with every twinkle!