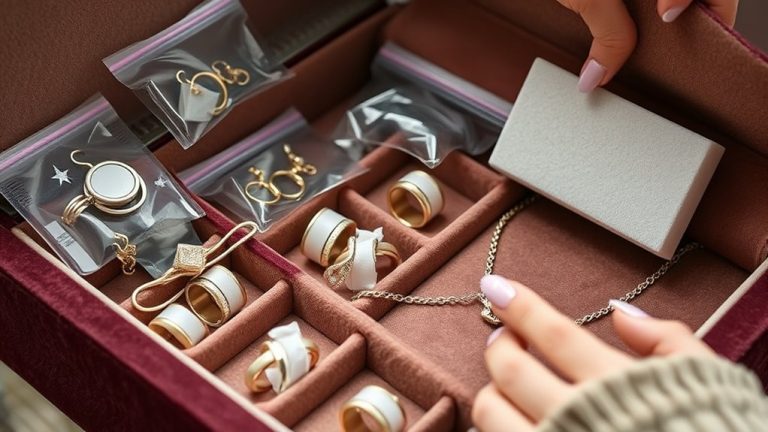
How to Fix Broken Jewelry in 7 Easy Steps
You can fix broken jewelry in seven easy steps! Whether it’s a cherished necklace, a beloved bracelet, or a pair of favorite earrings, repairing your jewelry can be a rewarding experience.
First, start by replacing damaged clasps with matching ones. This will help ensure that your pieces stay secure when worn.
Next, for broken necklaces, consider restringing or knotting them securely.
If you have elastic bracelets, swap out the worn cords and tie strong knots to give them new life.
For earrings, it’s essential to replace faulty ear wires for comfort and safety.
When it comes to rings, carefully reshape or resize them using a mandrel and mallet to get them back to their original form.
If you find any loose stones, re-glue them to avoid losing them altogether.
Lastly, for tangled chains, gently remove knots to restore them.
Follow these basics, and you’ll quickly restore your favorite pieces with confidence!
Replace a Broken Clasp

If your jewelry’s clasp breaks, start by identifying its type and size so you can find a matching replacement.
For effective jewelry repairs, choose a clasp made from a similar metal—sterling silver, gold-filled, or plated—to maintain a consistent look and durability.
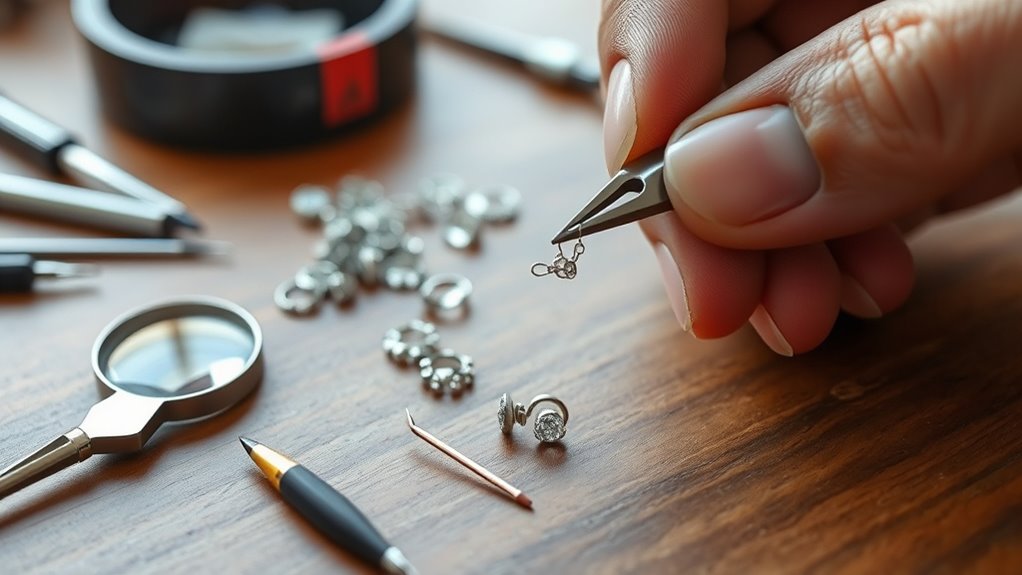
Use jewelry pliers to carefully open the jump ring or loop that connects the broken clasp to your necklace or bracelet.
Remove the damaged clasp and attach the new one by closing the jump ring securely with the pliers.
Make sure the jump ring is firmly closed to prevent it from coming loose.
Finally, test the new clasp by gently pulling on it to ensure it stays closed and functions properly before you wear your jewelry again.
Knot or Restring a Broken Necklace

When your necklace breaks, restringing it allows you to restore its original beauty and strength.
Start by removing the old beading wire, especially if it loosened or broke. Keep your beads in order to match the original design.
Use crimp beads of the same size and type to attach the clasp securely. Crimping pliers give a professional finish, so avoid flat-nosed pliers.
Finally, tie a surgeon’s knot with the wire or elastic and seal it with a bit of jewelry glue for durability. This method ensures your necklaces break less often and look great.
| Step | Tip |
|---|---|
| Remove old wire | Avoid tangled beads |
| Keep bead order | Preserve original design |
| Use correct crimp beads | Secure clasp properly |
| Employ crimping pliers | Professional finish |
| Tie surgeon’s knot | Seal with jewelry glue |
Repair an Elastic Bracelet

Just like restringing a necklace restores its strength, repairing an elastic bracelet involves replacing the worn-out elastic to bring it back to life.
Start by carefully removing the old elastic, keeping the beads in order to preserve the bracelet’s design.
Begin by gently removing the old elastic, ensuring the beads remain in their original sequence.
Next, cut a new piece of elastic cord matching the original length plus extra for tying knots.
Thread the beads onto the new elastic, then tie a surgeon’s knot to secure the ends tightly.
For added durability, apply a small amount of jewelry glue to the knot.
Once dry, trim any excess elastic for a clean finish.
This simple repair will restore your elastic bracelet’s flexibility and strength, making it wearable again without compromising its look or comfort.
Fix or Replace Ear Wires
Although ear wires are small, they play a crucial role in your earrings’ functionality and comfort.
So, replacing or fixing them can quickly restore your favorite pieces.
Start by using small pliers to carefully open the jump ring or loop attaching the earring.
Gently remove the damaged ear wire by opening its loop with jewelry pliers, taking care not to harm the earring itself.
Then, attach a new ear wire by securely closing the loop with pliers.
Ensure it’s tightly fastened to prevent falling off.
For added comfort and allergy prevention, choose ear wires made from hypoallergenic materials like sterling silver or gold-filled.
This quick, cost-effective fix lets you repair or update your earrings without needing professional help.
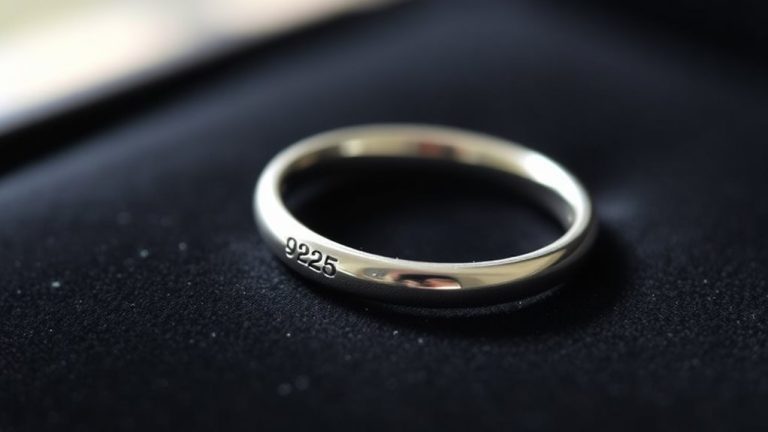
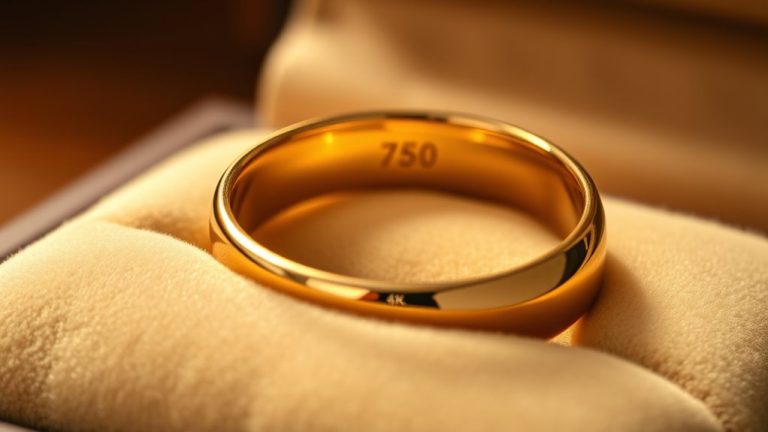
Re-Shape or Resize a Ring
When you need to reshape or resize a ring, having the right tools like a metal ring mandrel and a rawhide mallet is essential.
You’ll want to gently tap and rotate the ring to adjust its size carefully.
Make sure to check the fit often to avoid damage.
Tools Needed
To reshape or resize a ring accurately, you’ll need a metal ring mandrel marked with UK sizes and a rawhide mallet.
The mandrel helps you measure and adjust the ring to the exact size needed.
Make sure the ring is clean before starting; dirt or debris can interfere with the process.
The rawhide mallet allows you to gently tap the ring on the mandrel without causing scratches or damage.
As you work, remember to rotate the ring while tapping to ensure even reshaping and avoid distortions.
Keep in mind, if your ring has stones or delicate details, it’s best to consult a professional rather than attempting resizing yourself.
These tools make the process manageable and precise when working on simple metal bands.
Reshaping Techniques
If you want to reshape or resize a ring, start by placing it on a steel ring mandrel that matches your target size.
Mark its current size to give you a clear reference point as you work.
To reshape or enlarge the ring, gently tap it with a rawhide mallet while rotating it on the ring mandrel.
This gradual process helps avoid damage and maintains the ring’s integrity.
For bent or misshapen rings, apply even taps around the band to restore its round form.
When the ring has a gemstone, hold it securely and avoid direct impacts to prevent damage.
Always work slowly, checking the fit frequently to ensure the ring reshapes properly and retains your desired size.
Professional Resizing
How can you guarantee a perfect fit without risking damage to your ring?
Professional resizing offers a safe way to reshape jewelry without harming the metal or stones.
Use a steel ring mandrel marked with UK sizes and a rawhide mallet to gently tap the band inward or outward.
Place the ring on the mandrel, rotating it while tapping carefully to achieve the desired size.
To enlarge, tap from the inside; to make smaller, tap from the outside.
However, avoid resizing stone-set rings yourself, as this can damage the setting—leave these to professional jewelers.
Always work slowly and incrementally to prevent cracking or deforming precious metals like gold or silver.
This method guarantees your jewelry maintains its beauty and fits perfectly.
Re-Glue a Missing Stone
A missing stone doesn’t have to mean the end of your favorite piece.
First, use nose pliers to carefully open the jump ring if you need to detach the setting for easier handling.
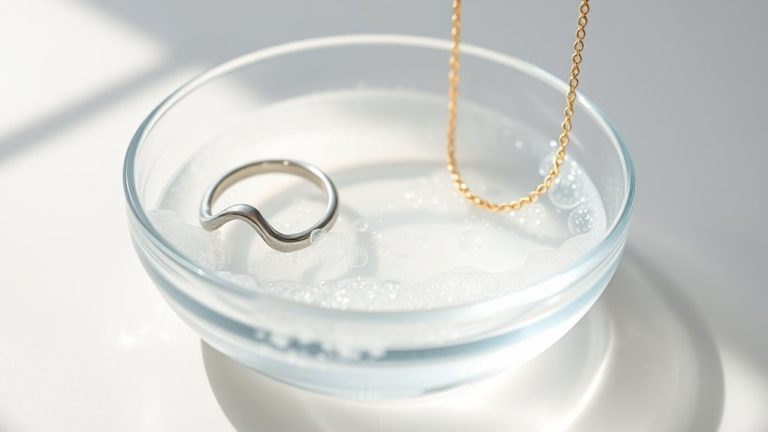
Then, clean both the stone and the setting thoroughly to guarantee the glue adheres properly.
Choose a replacement stone that matches the original size and shape for a secure fit.
Follow these steps to re-glue a missing stone:
- Use jewelry-appropriate glue like Devcon 5 Minute Epoxy.
- Apply a small amount of glue precisely to avoid overflow.
- Hold the stone gently in place until the glue sets fully, following drying instructions.
This method restores your jewelry’s beauty quickly and effectively.
Remove Tangles and Knots From Chains
When you notice your chain has tangled, take your time to gently work through the knots using tools like sewing pins or needles. These tools can help prevent damage while loosening stubborn tangles.
Start from a loose end, carefully untangling with steady, gentle movements.
Begin at a loose end and patiently work through tangles with slow, gentle motions for best results.
If knots resist, apply a tiny amount of baby or mineral oil with a cotton swab to ease tension.
Use a hard, smooth surface and small tools like tweezers to work out tight spots without stressing the chain.
After untangling, inspect the loop or jump ring and clasps for damage.
If you find broken clasps, replace them promptly to avoid future tangles.
Finally, hang chains individually on hooks or store them in jewelry boxes to prevent knots and keep your jewelry in top shape.
Frequently Asked Questions
How to Fix Jewelry That Snapped?
You’ll first identify the snapped part.
Then, use pliers to remove damaged sections.
Attach a new jump ring or clasp, securely close it, and gently test to guarantee the jewelry is strong and wearable again.
How to Fix a Broken Necklace at Home?
Think of your broken necklace as a paused story—you can rewrite its ending.
Grab pliers, remove the damaged link, and replace it with a jump ring.
Close it tightly and wear your renewed tale with pride.
How to Fix a Broken Necklace Without Soldering?
You can fix a broken necklace without soldering by using small jump rings and pliers to reconnect the ends.
Make sure to choose the right size.
Close the rings tightly and secure with jewelry glue for extra strength.
How to Repair a Broken Bracelet at Home?
You find your favorite bracelet snapped just as you’re about to go out.
Don’t worry—cut off the broken elastic, re-thread with new cord, tie a secure knot, add glue, and test it gently before wearing.
Conclusion
Now that you’ve got these simple fixes under your belt, you can bring your broken jewelry back to life without breaking a sweat.
Whether it’s restringing a necklace or re-gluing a stone, these quick steps will save you time and money.
Remember, a little patience goes a long way. Soon enough, your favorite pieces will be shining like new!
Keep these tips handy, and you’ll never have to toss jewelry out again!
In conclusion, with just a few easy steps, you can revive your beloved jewelry and extend its life.
So, next time a piece breaks, don’t panic! Instead, grab your tools and give it a go.
With a little effort, you’ll be able to enjoy your jewelry for years to come.
Say goodbye to tossing out broken pieces and hello to creative repairs!