7 Steps to Make Beach Glass Jewelry at Home
To make stunning beach glass jewelry at home, you’ll want to start with some smooth, naturally weathered sea glass. Look for pieces that are free from flaws, as these will make your jewelry shine even brighter.
Once you’ve gathered your glass, give each piece a gentle clean with warm water and soap to remove any debris.
After cleaning, organize your glass by size, shape, and color to make the design process easier.
Next, choose metals like sterling silver that will beautifully enhance the hues of your glass.
Don’t forget to gather essential tools like pliers and wire cutters, as they’ll be crucial for your project.
Now comes the fun part! Design your piece and securely set the glass in bezels to keep it in place.
Finally, polish your creation for a shiny finish and added protection.
Keep experimenting, and you’ll discover unique details that make your beach glass jewelry truly one-of-a-kind!
Understanding and Selecting Quality Sea Glass

Although sea glass starts as ordinary broken bottles and glass, you’ll want to focus on pieces that have been naturally tumbled and smoothed by the ocean over many years.
Quality sea glass has a frosted appearance with smooth edges, showing it’s been weathered without human interference.
When selecting sea glass for jewelry, look for pieces free from chips or cracks—only about 1 in 100 meets this standard.
Your selection should emphasize flaw-free glass that maintains its natural shape and finish.
This careful selection ensures your jewelry will feature authentic, durable sea glass with a unique texture and color.
Preparing and Cleaning Your Sea Glass Pieces

Once you’ve carefully selected your sea glass for its natural beauty and durability, the next step is to prepare and clean each piece thoroughly.
Start by rinsing your sea glass in warm water mixed with a few drops of dish detergent to remove dirt and salt. Use a colander to ensure each piece gets fully rinsed, then lay the glass on a towel to dry completely.
Rinse sea glass in warm, soapy water using a colander, then dry thoroughly on a towel.
As you clean, examine each piece closely—discard any with chips, cracks, or flaws that could weaken your jewelry.
Choose only fully shaped, smooth pieces that have been naturally tumbled in the ocean.
Organizing Sea Glass by Size, Shape, and Color

Start by sorting your sea glass by size to make selecting the right pieces easier.
Then, categorize them by color to help you quickly find the perfect match for your designs.
This simple organization will save you time and keep your workspace neat.
Sorting by Size
Organizing your sea glass by size, shape, and color makes designing jewelry much easier.
When sorting by size, categorize your sea glass pieces to streamline your jewelry making.
Use labeled heavy-duty zip lock bags for each size group so you can quickly find what you need.
Measure and record each piece’s dimensions to keep your collection well-organized.
Focus on separating small pieces perfect for earrings from larger ones suited for pendants or other settings.
To maintain efficient organization, regularly review and adjust your sorting system.
Here’s a simple approach:
- Measure and group sea glass by size.
- Store each size category in labeled bags.
- Separate pieces by potential jewelry use (earrings, pendants).
This method keeps your sea glass organized and your jewelry making process smooth.
Categorizing by Color
Color plays an essential role when you categorize your sea glass, as it helps you quickly find matching pieces for your jewelry designs.
When organizing sea glass, separate common colors like green, blue, clear, and brown from rare shades such as purple or red.
This makes your jewelry making more efficient by streamlining the selection process.
Combine color sorting with size and shape categories, like teardrops or ovals, to pair pieces perfectly for specific designs.
Use labeled heavy-duty zip lock bags or containers to keep your collection tidy and accessible.
Developing a color and shape coding system further enhances inventory management, letting you find the right pieces quickly.
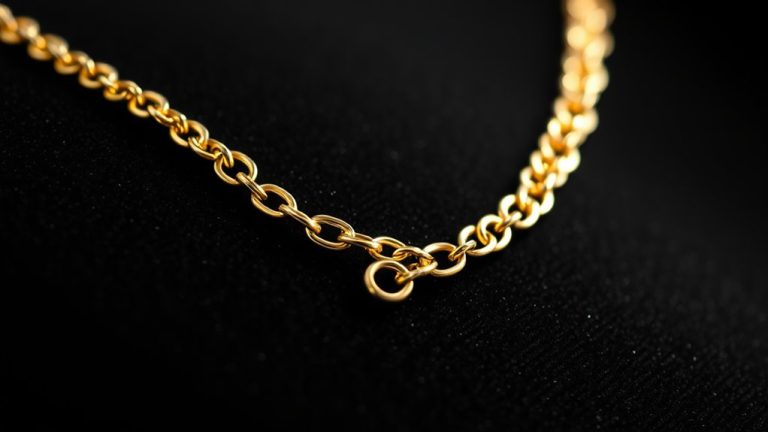
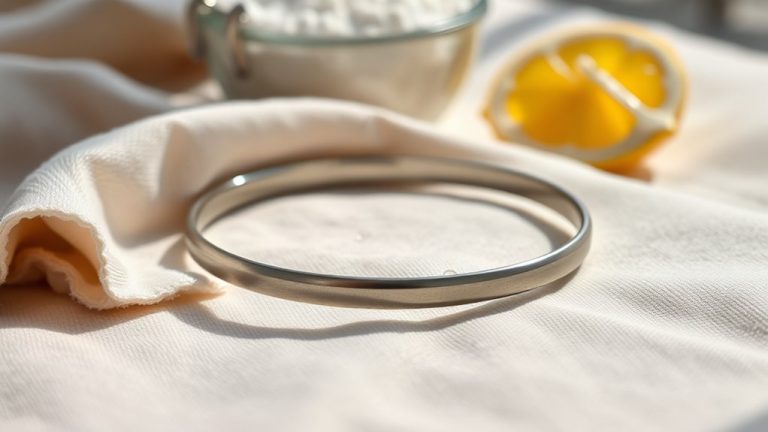
Choosing the Right Metals and Tools for Jewelry Making
To create stunning beach glass jewelry, you’ll want to pick metals that complement each piece’s color and durability, like sterling silver or gold vermeil.
Equipping yourself with essential tools such as pliers, wire cutters, and soldering supplies will make shaping and assembling easier.
Matching the right metal to your glass will guarantee your jewelry looks polished and lasts longer.
Metal Types for Jewelry
Choosing the right metal for your beach glass jewelry can make all the difference in both appearance and durability.
Sterling silver is the most popular choice because it’s durable and offers a beautiful finish.
For colored beach glass, gold vermeil—a layer of 14K gold over sterling silver—works beautifully.
When crafting your pieces, consider these three tips:
- Use sterling silver for wire wrapped designs to securely hold your beach glass.
- Incorporate jump rings made from corrosion-resistant metals to ensure your jewelry lasts.
- Match the metal’s tone with the glass’s natural color to enhance the overall aesthetic.
Happy crafting!
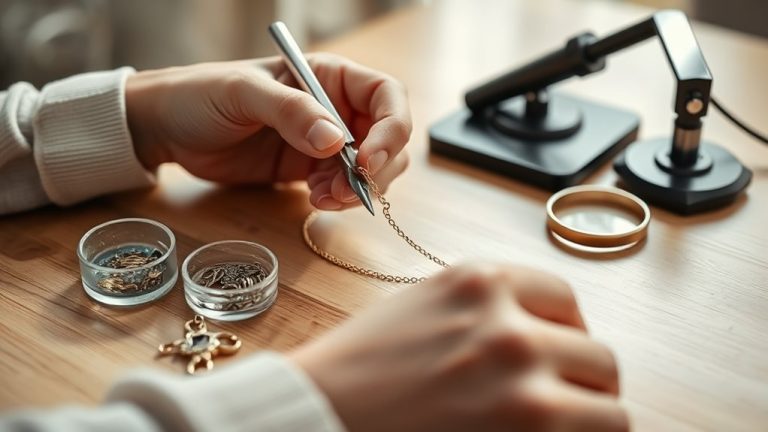
Essential Jewelry Tools
When you start making beach glass jewelry, having the right tools is just as important as selecting the perfect metal.
Working with sea glass means you can’t really rush the process, especially when handling multiple pieces.
Essential tools like pliers, wire cutters, and a jeweler’s saw help you shape and join metal securely around the glass.
Polishing brushes bring out a smooth finish, enhancing your design.
| Tool | Purpose | Why It Matters |
|---|---|---|
| Pliers | Bend and hold wire | Precision with delicate pieces |
| Jeweler’s saw | Cut metal bezels | Fits sea glass snugly |
| Polishing brush | Smooth and shine metal | Completes professional look |
These tools make your creative process smoother and your jewelry durable.
Having the right tools can really elevate your craft!
Matching Metals With Glass
Having the right tools sets the foundation, but picking metals that highlight your sea glass colors really brings your jewelry to life.
Sterling silver (.925) is your go-to for most pieces, enhancing cool tones like greens and blues. For richer colors such as deep red or cobalt blue, gold vermeil adds a luxurious contrast.
To create durable and beautiful jewelry, keep these points in mind:
- Choose metal gauges between 16-20 for sturdy bezels and wire wrapping.
- Match silver with cool-toned sea glass and gold vermeil with warm hues.
- Use proper tools like sterling bezel wire, silver solder, and flux to secure your settings.
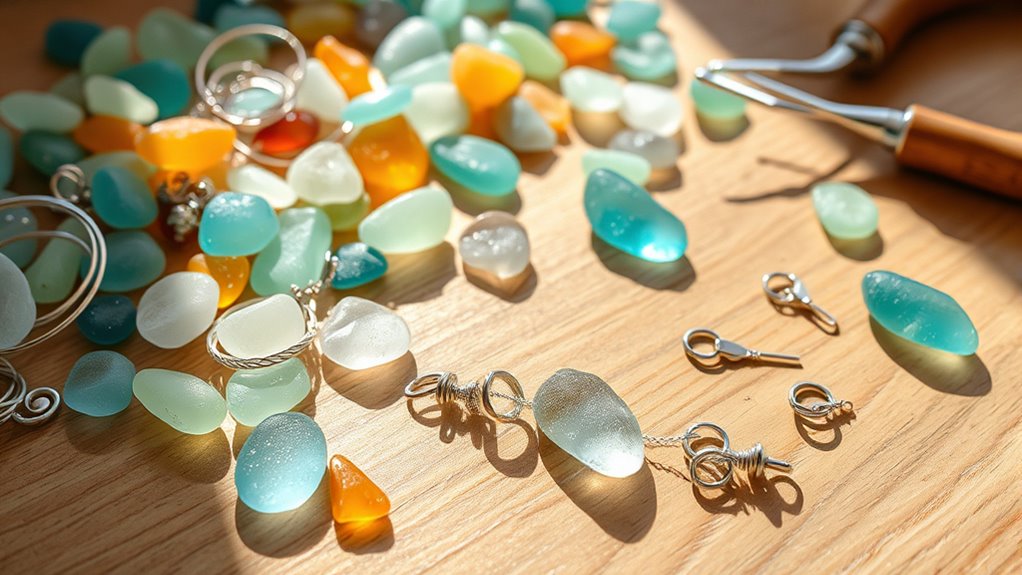
Designing Your Beach Glass Jewelry Piece
Although it might be tempting to dive straight into assembling your jewelry, taking time to organize your sea glass by shape, size, and color will inspire a more cohesive design.
Organizing sea glass by shape, size, and color sparks more harmonious and inspired jewelry designs.
Start by sorting your pieces to see which naturally pair well together.
Match the glass’s form with charms or accents that complement its curves and hues, enhancing the overall look.
Lay out your chosen pieces on a flat surface to visualize your design before permanently setting anything.
Whether you prefer minimalist or intricate styles, this planning helps you select the right elements.
Finally, consider adding wire wrapping or other accents that highlight each piece’s unique shape and condition, ensuring your beach glass jewelry is both stunning and personalized.
Techniques for Setting Sea Glass in Silver Bezels
Once you’ve finalized your design, the next step is to securely set your sea glass in a silver bezel.
Start by selecting sterling bezel wire that matches your sea glass size for a snug fit. Then, cut and shape the bezel wire to closely follow the contours of your piece.
Next, solder the bezel wire onto a silver backing sheet using silver solder and flux to create a clean, tight joint.
Follow these key steps:
- Place the sea glass into the bezel carefully.
- Gently press it into position, checking fit and alignment.
- Ensure the bezel holds the glass firmly without gaps.
This technique guarantees your sea glass stays secure and beautifully framed in silver.
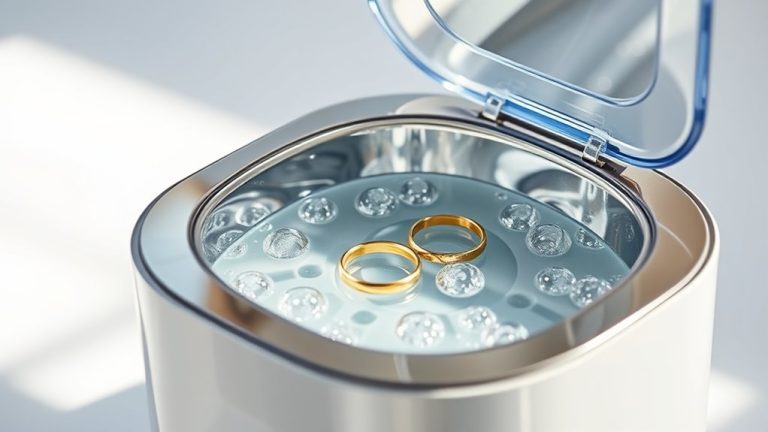
Finishing Touches: Polishing and Protecting Your Jewelry
To bring out the full beauty of your sea glass jewelry, start by polishing the metal components with a jewelry cloth or a rotary tool fitted with polishing attachments.
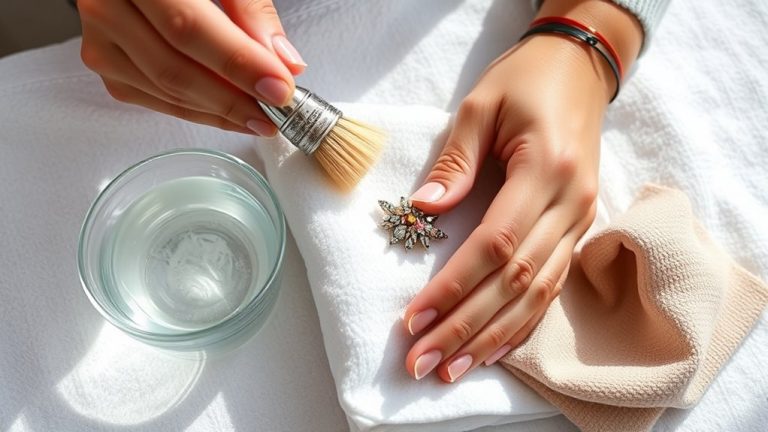
Before polishing, gently clean the sea glass using warm water and a soft brush to remove dirt or residues that might scratch the surface.
After buffing, apply a clear sealant or lacquer to protect your piece from tarnishing and preserve its shine over time.
If your jewelry features sterling silver, use silver polish periodically to maintain its bright, reflective finish.
Finally, store your finished jewelry in anti-tarnish pouches or jewelry boxes with silica gel packets.
This will minimize exposure to moisture and air, keeping your creations looking pristine for years to come.
Frequently Asked Questions
How to Prepare Sea Glass for Jewelry at Home?
You should rinse your sea glass in warm, soapy water, then dry it thoroughly.
Next, pick smooth, flawless pieces without altering their shape.
Finally, sort and store them by color and size for easy use.
How to Make a Sea Glass Ring for Beginners?
Want to create a unique sea glass ring?
You’ll select smooth glass, shape a sterling silver bezel, and secure the glass inside.
Then, attach a ring band.
Don’t forget to polish it for a stunning finish!
What Kind of Glue Do You Use for Sea Glass?
You should use Devcon 5 Minute Epoxy for sea glass.
It bonds quickly and strongly, unlike super glue or hot glue.
Make sure your sea glass and metal are clean before applying for the best, long-lasting hold.
What Is the Rarest Color of Sea Glass?
Red sea glass is the unicorn of the beach, the rarest color you’ll ever find.
Since less than 1% exists, spotting deep red glass feels like striking treasure.
This makes your jewelry truly one-of-a-kind and valuable.
Conclusion
Now that you know the steps, imagine crafting a necklace from sea glass you found on a memorable beach trip.
Each piece holds a story, and by setting it in silver, you turn those memories into wearable art.
With patience and care, your handmade jewelry not only shines but also preserves those special moments.
So, grab your tools, get creative, and let your beach glass tell its unique story every time you wear it.
Crafting beach glass jewelry allows you to cherish your favorite beach memories while showcasing your creativity.
Each piece becomes a conversation starter, connecting you to the ocean’s beauty.
Let your artistry shine as you transform simple glass into stunning jewelry that captures the essence of your adventures.
In conclusion, embrace the joy of making beach glass jewelry and celebrate the stories behind each piece.
Your creations will not only look beautiful but also serve as a reminder of those cherished moments by the sea.