How to Tell If Jewelry Is Real Silver Step by Step
To tell if your jewelry is real silver, you can follow a few straightforward steps.
First, look for hallmarks like “925” or “Sterling” inside or behind the piece. This indicates that the jewelry is made of sterling silver, which is 92.5% pure silver.
Next, try a magnet test. Real silver isn’t magnetic, so if your jewelry sticks to a magnet, it’s likely not genuine.
Also, check for consistent tarnish. Authentic silver will tarnish over time, and this can typically be polished off.
After rubbing the piece, look for black residue on a soft cloth. This is another sign of real silver.
You can also perform an ice cube test; genuine silver conducts heat quickly and will melt ice rapidly.
If you want to confirm further, there are easy ways to investigate its authenticity.
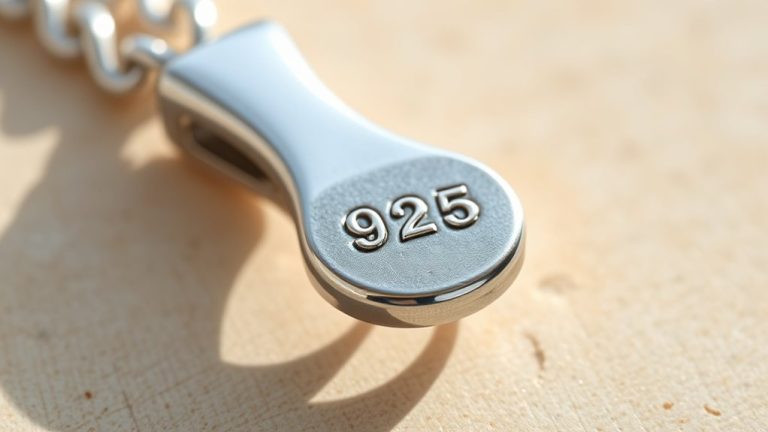
Understanding Sterling Silver and Its Hallmarks

Although sterling silver contains 92.5% pure silver, you can identify it by looking for hallmarks like 925, .925, STERLING, or STG.
These stamps are usually found in discreet spots, such as the inside of rings or the back of pendants.
Look closely inside rings or behind pendants to find the subtle sterling silver stamps.
These sterling silver hallmarks serve as silver purity marks, showing the metal’s quality.
When performing a sterling silver test, silver stamp identification is key to confirming authenticity.
Hallmark silver jewelry often features silver grade indicators to differentiate it from lower purity pieces like 900 or 800 silver.
However, not all genuine silver carries marks, so silver hallmark verification may require additional physical tests.
Understanding these basics helps you recognize real sterling silver and avoid fakes effectively.
Locating and Interpreting Silver Stamps on Jewelry

To accurately identify real silver jewelry, you need to know where to find and how to read its silver stamps.
Silver hallmarks and sterling silver stamps usually hide in small spots like inside rings, behind pendants, or near clasps.
Look for common silver purity marks such as “925,” “.925,” “Sterling,” or “Ster” indicating authentic silver indicators.
Other numbers like “999,” “800,” or “900” also appear, showing different silver content levels.
However, jewelry markings alone don’t guarantee authenticity; counterfeit pieces might display fake silver stamps.
For reliable silver stamp identification, combine hallmark checks with additional tests or professional appraisal.
This step is vital for thorough silver jewelry verification and ensuring you’re dealing with genuine silver.
Performing the Magnet Test for Silver Authenticity

When you hold a strong neodymium magnet close to your silver jewelry, you’ll notice that genuine silver isn’t attracted or only shows a very weak response.
This simple magnet test helps you identify real silver by checking its non-magnetic property, unlike ferromagnetic metals such as iron or steel that stick firmly to magnets.
To perform an accurate silver verification, test the entire piece.
Small steel parts like clasps might react to the magnet without indicating fake silver.
Although quick and inexpensive, the magnet test serves as an initial screening method for authenticity.
The magnet test offers a fast, affordable first step to check silver authenticity.
Keep in mind that a non-magnetic result doesn’t guarantee silver purity.
Examining Tarnish Patterns on Silver Pieces
Since genuine silver naturally develops tarnish over time, examining its patterns can reveal a lot about your jewelry’s authenticity.
Real silver forms a consistent, dull gray or black patina mainly in crevices and surface imperfections due to oxidation.
This tarnish appears gradually and symmetrically, covering the piece evenly.
When polished, it disappears to reveal a bright, shiny surface underneath.
In contrast, fake silver or silver-plated jewelry often shows uneven discoloration or patchy tarnish patterns where the thin silver layer wears off, exposing the base metal.
You should carefully observe the tarnish’s color, consistency, and location—authentic silver’s tarnish will be uniform and smooth.
Meanwhile, irregular or flaking discoloration suggests non-silver or plated metals.
Examining tarnish patterns helps you confidently identify genuine silver jewelry.
Conducting the Ice Cube Thermal Conductivity Test
You can test silver’s heat conductivity by placing a clean ice cube on your jewelry and watching how fast it melts.
Genuine silver will melt the ice within 10-15 seconds thanks to its high thermal conductivity.
To get the best results, try wrapping the piece in aluminum foil before testing and keep the environment stable.
Silver’s Heat Conductivity
How quickly does your jewelry conduct heat?
Silver has exceptional thermal conductivity, meaning it transfers heat rapidly.
When you place a piece of silver jewelry on an ice cube, the heat from the metal moves quickly into the ice, causing it to melt faster than other metals.
This melting test relies on silver’s ability to conduct heat efficiently.
So if the ice cube melts within seconds, it’s a strong sign you have real silver.
Wrapping the jewelry in aluminum foil before the test helps isolate heat transfer, making your results more accurate.
If the ice melts slowly or not at all, your jewelry likely isn’t genuine silver.
This quick heat transfer is a reliable way to check silver jewelry’s authenticity through thermal conductivity.
Performing The Ice Test
Where should you place the ice cube when performing the test?
Place it on the surface of your jewelry, ideally wrapped in aluminum foil to avoid direct contact.
This ice test helps you tell if silver is real by measuring thermal conductivity. Real silver conducts heat quickly, so watch how fast the ice melts.
Follow these steps:
- Put the ice cube on the wrapped jewelry surface.
- Observe how quickly it melts—real silver melts ice in about 10-15 seconds.
- If the ice stays solid for over 30 seconds, the jewelry likely isn’t silver or has low thermal conductivity.
Repeat the test on different spots for accuracy.
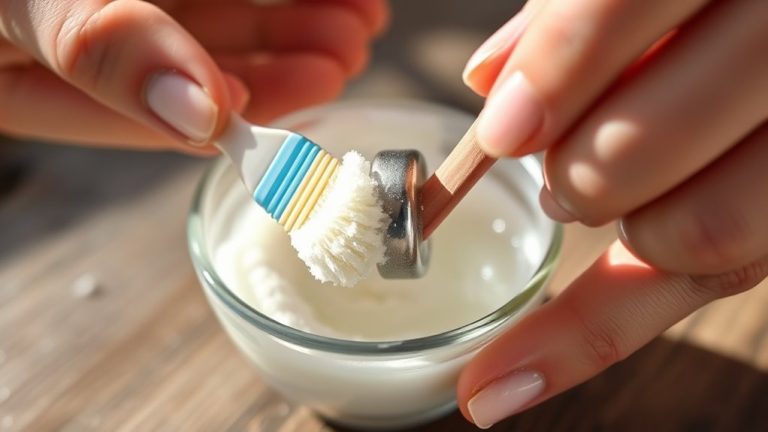
Inspecting Jewelry for Signs of Silver Plating
When inspecting your jewelry, keep an eye out for worn spots where the silver layer might be peeling or flaking, revealing the base metal underneath.
Uneven discoloration or patchy tarnish can also signal silver plating rather than solid silver.
Gently rubbing the piece with a white cloth can help you spot these telltale signs more clearly.
Look for Plating Wear
Although silver-plated jewelry can look convincing at first, you can often spot wear by checking areas where the plating has thinned or chipped.
This is especially common on high-friction spots like ring bands or pendant edges.
To identify plating wear, follow these steps:
- Use a magnifying glass to spot worn spots or chipped plating that reveal a different base metal underneath.
- Look for surface damage such as peeling, flaking, or uneven discoloration. These signs indicate that the silver layer is deteriorating.
- Gently scratch a hidden area; if the silver flakes off easily, it’s likely plated rather than solid silver.
Keep in mind that constant wear and exposure to moisture or chemicals can accelerate plating wear.
Over time, this makes the base metal more visible.
Check Discoloration Patterns
Because genuine silver tarnishes evenly over time, you can tell if jewelry is real by closely examining its discoloration patterns.
Real silver develops a consistent tarnish with black residue, especially in crevices and around clasps, due to natural oxidation.
If you notice uneven discoloration or patchy areas where a different color, like copper or brass, shows through, that’s a clear sign the piece is silver-plated.
Look for peeling or flaking, which reveals the base metal underneath.
These tarnishing signs indicate the silver layer is wearing off, not solid silver oxidizing uniformly.
Listening to the Sound Test for Silver Items
If you gently tap your silver jewelry with a metal object, you’ll notice a clear, high-pitched ringing sound from genuine silver.
This ringing sound indicates solid silver, while fake or plated pieces produce a duller tone with less resonance.
A clear, ringing tone reveals genuine silver; dull sounds suggest fake or plated jewelry.
For accurate jewelry testing, follow these steps:
- Strike the item lightly to avoid damage and listen carefully for a crisp, high-pitched tone.
- Compare the sound quality to a known piece of real silver to detect differences.
- Repeat the test on different parts or similar items, as shape and size affect resonance.
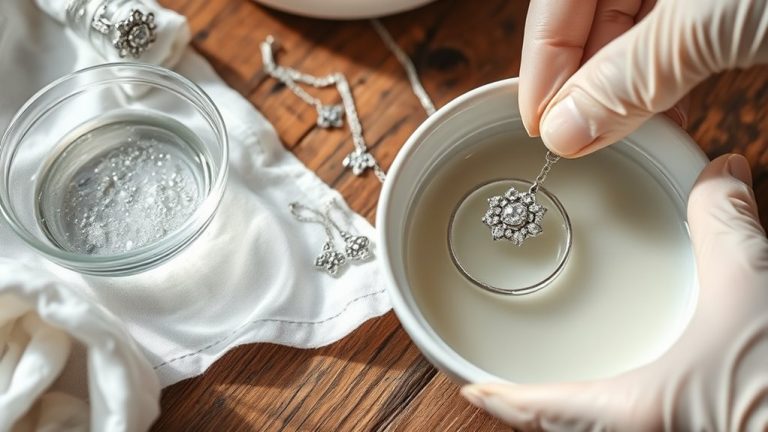
Using a Soft Cloth to Detect Silver Residue
When you gently rub your silver jewelry with a soft, clean white cloth, you can often detect black tarnish transferring onto the fabric, which signals genuine silver.
Silver reacts with sulfur in the air, leaving black marks or residue on the cloth.
To check your piece:
| Step | Action | Result |
|---|---|---|
| 1 | Use a new soft cloth | Avoid scratches |
| 2 | Rub gently | Transfer tarnish |
| 3 | Inspect cloth | Look for black marks |
| 4 | Repeat on areas | Confirm consistency |
If no black marks appear, your jewelry might be plated or not genuine silver.
Always use light pressure to protect delicate pieces while you check for tarnish and residue.
When and How to Seek Professional Silver Testing
Although simple home tests can help you identify silver, you should seek professional testing when you’re still unsure about your jewelry’s authenticity or if the piece holds significant value or antique status.
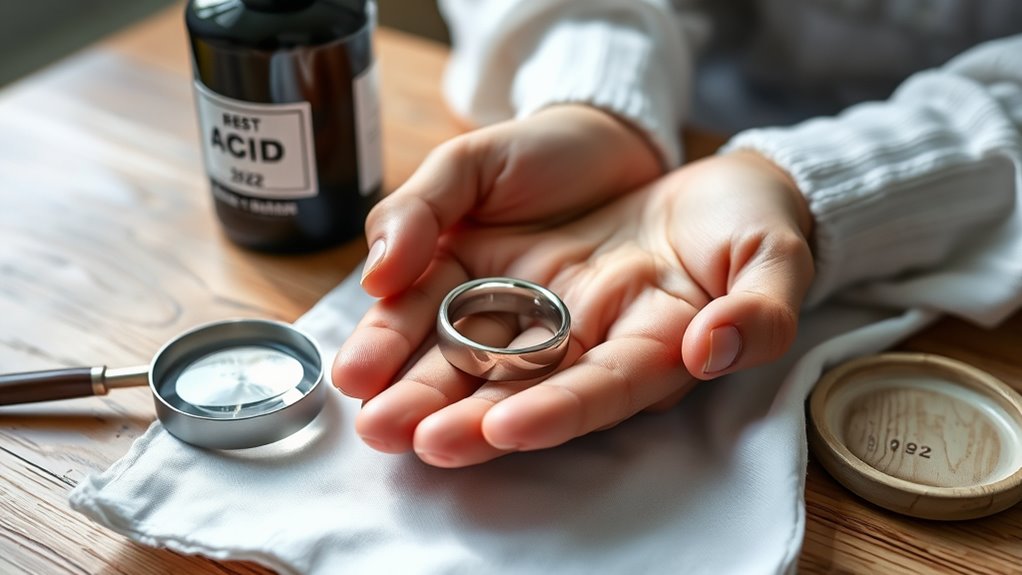
For accurate silver verification, professionals use advanced methods like X-ray fluorescence (XRF) and acid tests, which provide definitive silver content analysis.
Here’s when and how to proceed:
- Consult a certified appraiser or reputable jeweler experienced in jewelry authentication and silver hallmarks.
- Request professional testing, including acid test or XRF, to confirm silver purity.
- Always ask for a written certification or report verifying your jewelry’s genuine silver status.
Professional testing ensures precise results, especially for valuable or vintage pieces with unclear hallmarks. This gives you confidence in your silver’s authenticity.
Frequently Asked Questions
How to Test if Silver Is Real at Home?
You can test silver at home by checking for hallmarks. These are small stamps that indicate the purity of the metal.
Using a magnet is another simple method. Real silver is non-magnetic, so if it sticks to the magnet, it’s likely not silver.
Tap the piece lightly; a clear ringing sound indicates it may be real silver.
Also, observe any tarnish. Genuine silver tarnishes over time, developing a patina.
Lastly, try the ice cube test to check for heat conductivity. Real silver melts ice quickly due to its high thermal conductivity.
How Can I Tell the Difference Between Sterling Silver and Silver?
You can tell sterling silver from fine silver by checking for a 925 stamp.
Testing its magnetism is another way—sterling isn’t magnetic at all.
Also, take a look at the tarnish patterns; sterling tends to tarnish more due to the alloy metals mixed with pure silver.
Conclusion
Now that you know these simple steps, you’re ready to spot real silver like a pro!
From checking hallmarks to the magnet test, each method helps you avoid fakes that might as well be made of moon dust.
Remember, silver’s unique tarnish and sound can tell you a lot.
But when in doubt, don’t hesitate to get a professional opinion.
With these tips, you’ll never be fooled by imitation jewelry again!
By using these straightforward techniques, you can confidently identify genuine silver pieces.
Whether it’s the hallmark, weight, or even the sound test, each step ensures you make an informed decision.
So go ahead, trust your instincts, and enjoy the beauty of real silver jewelry without the worry of being misled by imitations!