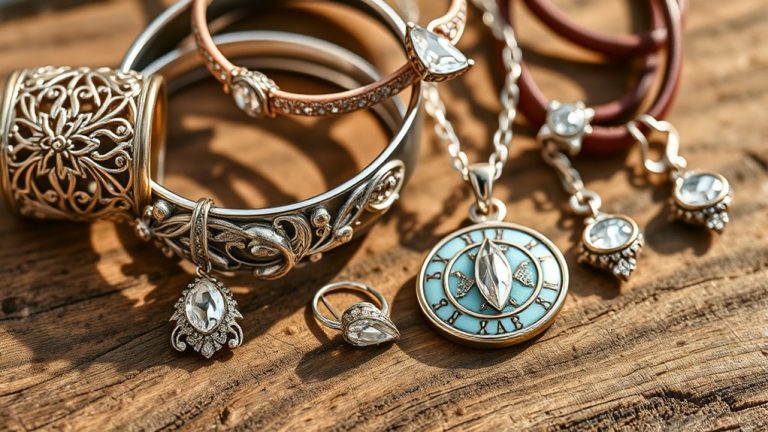
How to Choose the Best Liquid to Use in Ultrasonic Jewelry Cleaners
To choose the best liquid for your ultrasonic jewelry cleaner, it’s important to select a mild, pH-balanced solution that is suitable for the material of your jewelry.
For example, distilled water combined with a gentle cleaner works wonders for gold and platinum pieces.
If you’re cleaning silver, look for special formulas designed to prevent tarnish.
It’s crucial to steer clear of harsh chemicals, acids, or abrasive substances, as they can seriously damage delicate stones or settings.
When using the cleaner, make sure to fully submerge your jewelry without overfilling the tank.
And don’t forget to rinse your pieces thoroughly afterward to remove any residue.
With these tips, you can keep your jewelry sparkling and safe!
Understanding Ultrasonic Cleaning Technology

Although ultrasonic cleaning might seem complex, it works by sending high-frequency sound waves—usually between 20 and 40 kHz—through a liquid to create tiny cavitation bubbles.
These bubbles form and collapse rapidly within the liquid medium, producing a powerful cavitation effect that dislodges dirt and grime.
Tiny bubbles rapidly collapse, creating a powerful cavitation effect that lifts away dirt and grime effectively.
For this process to work well, the cleaning solution must efficiently support sound transmission and maintain stable cavitation.
The solution properties, including temperature and pH, directly impact cleaning performance and the intensity of cavitation.
You’ll want to contemplate material compatibility carefully to avoid damage to delicate jewelry.
In essence, ultrasonic waves rely on the right liquid medium to optimize the cavitation effect.
This ensures thorough and safe cleaning without harming the surfaces you care about.
Importance of Selecting the Right Cleaning Liquid

When you pick the right cleaning liquid, you guarantee your jewelry gets a thorough clean without risking damage.
The cleaning solution you choose directly impacts the ultrasonic cleaner’s cavitation process, ensuring effective cleaning by reaching tiny crevices and dislodging grime.
Using compatible liquids tailored to your jewelry materials supports safe cleaning, preventing tarnishing, corrosion, or stone loosening.
Different jewelry types require specific cleaning chemicals; neutral solutions work for delicate gems, while alkaline ones tackle greasy metals.
Selecting the proper solution not only enhances the ultrasonic cleaner’s performance but also promotes jewelry preservation.
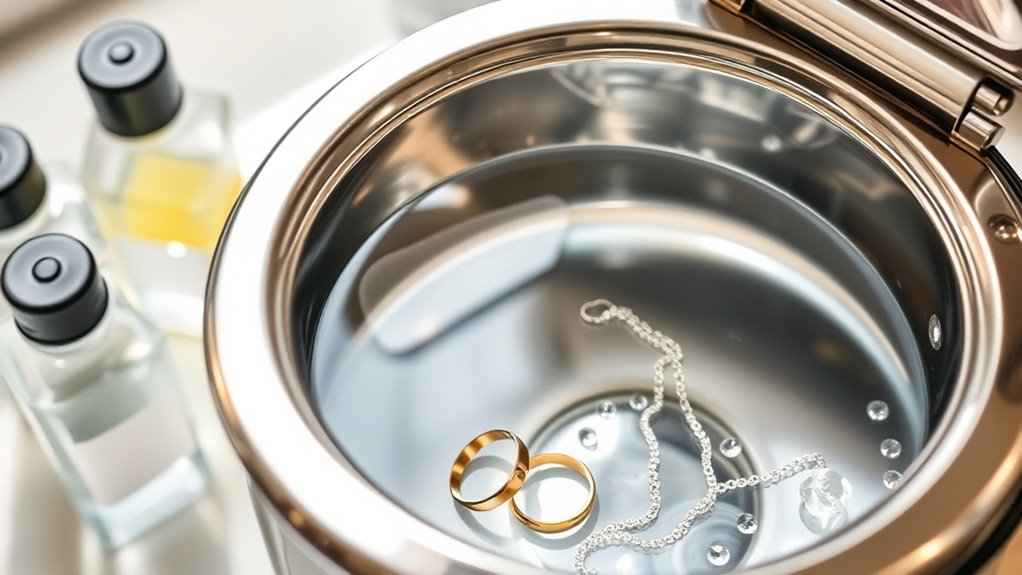
Common Liquids Used in Ultrasonic Jewelry Cleaners

You’ll find that water-based solutions, commercial cleaning liquids, and homemade mixtures each offer unique benefits for ultrasonic jewelry cleaning.
Distilled water with mild soap can gently lift dirt, making it a safe choice for most types of jewelry.
Meanwhile, specialized commercial liquids often include protective agents for your pieces, helping to maintain their shine and integrity.
You can even create effective homemade blends, but it’s important to avoid harsh chemicals that might harm your jewelry.
Always remember to choose the right solution based on your jewelry’s material and condition!
Water-Based Solutions
Because ultrasonic jewelry cleaners rely on effective cavitation, using water-based solutions with distilled or deionized water guarantees you avoid mineral deposits and impurities that can hinder cleaning.
These pure waters prevent mineral buildup and corrosion, guaranteeing gentle cleaning without damaging your precious metals or gemstones.
Maintaining a neutral pH, typically between 7 and 10, maximizes cleaning efficacy while protecting delicate materials.
You can boost performance by adding a few drops of mild dish soap or specialized jewelry cleaners.
Remember to replace the water-based solution regularly to prevent bacterial growth and maintain ideal cavitation.
By choosing distilled or deionized water and monitoring solution quality, you ensure your ultrasonic cleaner works effectively.
This helps prolong your jewelry’s shine and integrity without risking residue or tarnishing.
Commercial Cleaning Liquids
While water-based solutions provide a gentle and effective cleaning base, commercial cleaning liquids take ultrasonic jewelry cleaning a step further.
These commercial ultrasonic solutions are specially formulated with pH balanced cleaners and gentle cleaning agents to optimize cavitation without harming delicate metals or gemstones.
Many jewelry cleaning liquids include surfactants that effectively lift oils, grease, and grime, outperforming homemade mixes.
Popular brands offer specialized jewelry cleaning solutions, including tarnish removal solutions, designed for professional ultrasonic cleaners.
It’s vital to choose liquids with safe chemical formulations to ensure compatibility with jewelry materials.
Avoid harsh chemicals that could damage soft or porous stones.
Using these tailored commercial liquids helps you maintain your jewelry’s brilliance while protecting its integrity during ultrasonic cleaning.
Homemade Cleaning Mixtures
Although commercial solutions offer specialized cleaning power, homemade mixtures can provide a simple and cost-effective alternative for ultrasonic jewelry cleaning.
For gentle dirt removal, mix a few drops of dish soap with distilled water to create a mild cleaning solution.
If you need tarnish removal, try diluted vinegar—usually one part vinegar to three parts water—but avoid using it on porous stones or delicate metals.
Isopropyl alcohol blended with distilled water works well for removing oils and residues.
Homemade mixtures require careful dilution and testing on less valuable pieces to ensure they don’t damage your jewelry.
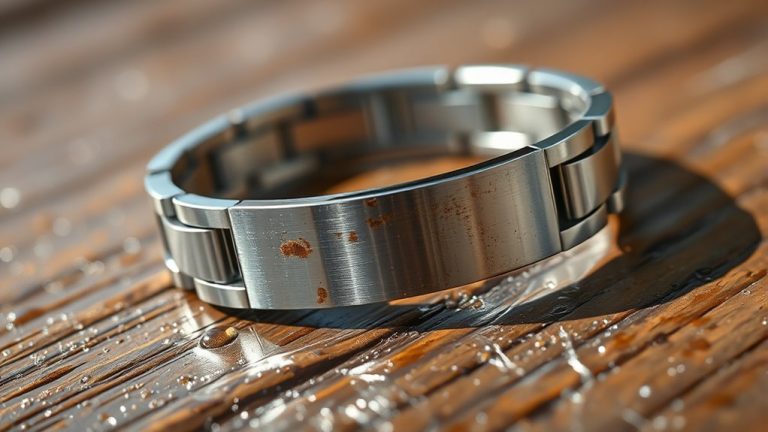
Liquids to Avoid for Jewelry Cleaning
If you want to protect your jewelry, you should avoid using harsh chemicals like bleach, ammonia, or acetone in your ultrasonic cleaner.
These substances can damage jewelry metals and gemstones.
Also, steer clear of strong acids and caustic cleaners, which may corrode or discolor delicate materials.
Household vinegar and baking soda solutions aren’t suitable either, as their acidity and abrasiveness can harm stones and settings.
Abrasive cleaners can cause micro-abrasion, leading to surface scratches.
Finally, avoid solvents or chemicals not designed for ultrasonic cleaning to prevent harmful fumes or irreversible damage.
Liquids to avoid include:
- Harsh chemicals (bleach, ammonia, acetone)
- Strong acids and caustic cleaners
- Household vinegar and baking soda solutions
- Abrasive cleaners causing micro-abrasion
- Non-specific solvents
Matching Cleaning Solutions to Jewelry Materials
Because different jewelry materials react uniquely to ultrasonic cleaning, you should match your cleaning solution to the specific type of metal or gemstone. This prevents damage and guarantees effective results.
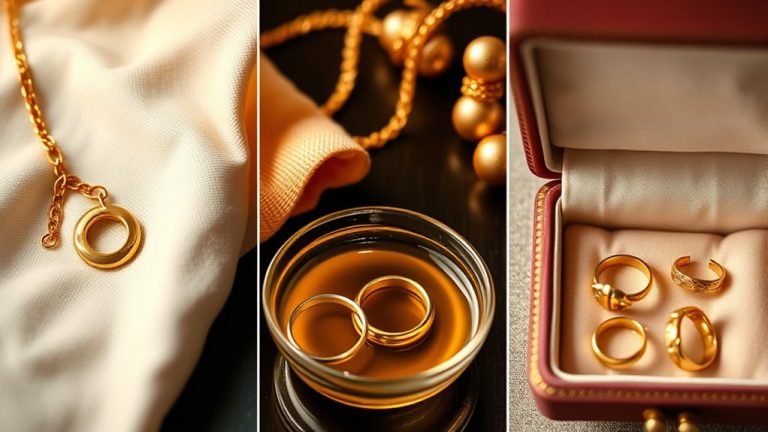
For gold and platinum, use distilled water mixed with mild dish soap or specialized cleaners. This ensures safe cleaning without harsh effects.
Silver, on the other hand, requires silver-safe solutions to avoid tarnishing.
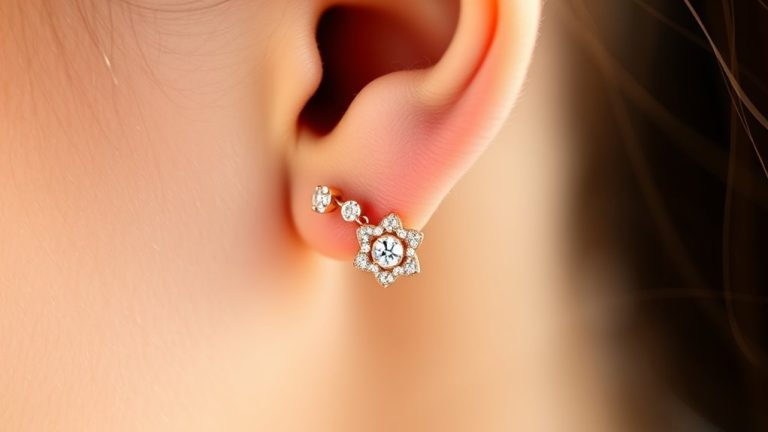
Hard gemstones like diamonds, sapphires, and rubies can tolerate ultrasonic cleaning with neutral or mildly alkaline solutions. However, be cautious and avoid ultrasonic cleaning on glued components or delicate jewelry to prevent loosening.
Now, when it comes to porous stones such as pearls, opals, and emeralds, don’t even think about ultrasonic cleaning. They’re just too fragile for that treatment.
If your jewelry contains mixed materials or glued parts, hand cleaning with compatible solutions is your best bet. This way, you can protect your pieces while maintaining their shine.
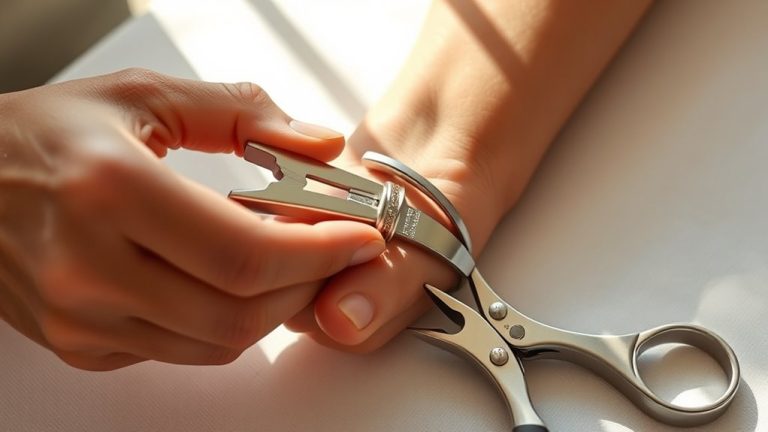
Preparing Jewelry for Ultrasonic Cleaning
Before placing your jewelry in an ultrasonic cleaner, you’ll want to remove any loose dirt or debris using a soft brush or cloth.
Proper jewelry preparation guarantees gentle cleaning and avoids damage.
Proper preparation ensures your jewelry is cleaned gently and safeguarded from damage.
Keep these tips in mind:
- Disassemble larger pieces to improve cleaning access and prevent dirt entrapment.
- Inspect delicate items and glued stones; clean fragile parts separately or by hand.
- Verify material compatibility, especially with soft metals and porous stones.
- Use the appropriate cleaning solutions suited for your jewelry type.
- After ultrasonic cleaning, perform thorough rinsing with distilled water for residual removal, then dry with a soft, lint-free cloth.
Following these steps will protect your pieces while maximizing the effectiveness of your ultrasonic cleaner.
Proper Setup and Usage of Ultrasonic Cleaners
Start by filling the ultrasonic cleaner tank with your chosen solution.
Make sure all jewelry is fully submerged and spaced apart.
Set the cleaning time between 3 to 5 minutes, adjusting as needed for tougher grime.
Keeping these steps in mind helps you get the best results without damaging your pieces.
Tank Filling Guidelines
When setting up your ultrasonic cleaner, you’ll want to fill the tank with enough solution to fully submerge your jewelry, usually at least two-thirds full.
Proper tank filling is vital to guarantee effective cleaning and protect your unit. Here’s what you need to keep in mind:
- Use distilled water mixed with appropriate cleaning agents to avoid mineral deposits.
- Do not exceed the maximum fill line to prevent spillage and damage.
Check the water level before starting and during operation, especially if heating is involved.
Arrange items evenly in the basket to promote uniform cleaning and prevent abrasion.
Maintain the solution level so ultrasonic cavitation works ideally throughout the cycle.
Following these guidelines ensures your ultrasonic cleaner delivers the best results with the right cleaning solution.
Cleaning Duration Settings
How long should you run your ultrasonic jewelry cleaner?
Cleaning duration typically ranges from 3 to 15 minutes, depending on dirt level and material sensitivity.
Use shorter ultrasonic cleaning time—around 3-5 minutes—for delicate stones like pearls to avoid damage.
Heavily tarnished pieces may need longer cycles, up to 30 minutes, but monitor closely to prevent harm.
Adjust cycle settings based on your jewelry’s condition to find the ideal cleaning time.
Always follow the manufacturer’s recommendations for cleaning cycle length to protect settings and prevent overheating.
Regularly inspect items during the cleaning process and make cleaning time adjustments as needed.
Proper cleaning duration ensures effective results without risking damage, making your jewelry cleaning cycle both safe and efficient.
Post-Cleaning Care and Rinsing Techniques
Although ultrasonic cleaning effectively removes dirt and grime, you’ll need to rinse your jewelry thoroughly with distilled water to eliminate any leftover cleaning solution and prevent chemical buildup.
Proper rinsing techniques guarantee residue removal and protect your pieces.
After rinsing, follow these jewelry care steps:
- Use distilled water for final rinsing to avoid mineral deposits.
- Gently dry with a soft, lint-free cloth to prevent scratches.
- Pat dry porous gems like pearls, avoiding moisture buildup.
- Inspect for loose stones or damage before storing or wearing.
- Store jewelry in a clean, dry, padded container to maintain shine.
Cleaning after ultrasonic requires moisture prevention and careful polishing tools to keep your jewelry pristine.
Post-cleaning storage is essential for long-lasting brilliance and protection.
Maintenance Tips for Ultrasonic Cleaning Equipment
Since ultrasonic cleaners rely on precise vibrations to remove dirt, you’ll want to maintain the equipment regularly to keep it working efficiently.
Start with ultrasonic cleaner maintenance by cleaning the tank with a soft cloth and mild detergent to ensure residue prevention.
Begin maintenance by gently cleaning the tank with a soft cloth and mild detergent to prevent residue buildup.
Always perform cleaning solution replacement after heavy use or when the solution looks cloudy or smells foul.
Conduct regular equipment inspection to spot wear in ultrasonic transducers, baskets, and seals—part replacement should follow manufacturer guidelines.
Don’t forget tank drying after each use to avoid rust and microbial growth.
Schedule routine servicing and device calibration to sustain peak performance and extend equipment longevity.
Following these steps keeps your ultrasonic jewelry cleaner reliable, effective, and long-lasting.
Frequently Asked Questions
What Liquid to Use in Ultrasonic Cleaner for Jewelry?
You should use distilled or deionized water with a few drops of mild dish soap or a specialized ultrasonic jewelry cleaner.
Avoid harsh chemicals, and always check if the solution suits your specific jewelry type before cleaning.
It’s important to ensure you’re using a safe and effective cleaning solution for the best results!
What Is the Best Fluid to Use in an Ultrasonic Cleaner?
You’ll want distilled water mixed with a drop of mild dish soap, like morning dew freshening a garden.
This combo cleans gently yet effectively, avoiding damage and ensuring your jewelry sparkles without harsh chemicals or residue.
Can I Use Dawn Dish Soap in My Ultrasonic Jewelry Cleaner?
You can use Dawn dish soap in your ultrasonic jewelry cleaner, but make sure to dilute it with distilled water and use it sparingly to avoid foam.
Also, avoid using it on soft or porous stones.
Consider specialized solutions instead for better results.
Is It Okay to Use Isopropyl Alcohol in an Ultrasonic Cleaner?
Imagine you’re cleaning vinyl records; yes, you can use isopropyl alcohol at 70% or less in your ultrasonic cleaner.
Just avoid higher concentrations—they’re too flammable and risky for jewelry and your safety.
Conclusion
Now that you know how vital the right liquid is for your ultrasonic cleaner, imagine the sparkle waiting to be released.
Choosing poorly could dull your precious pieces or even cause damage.
But pick wisely, and your jewelry will shine like never before.
Don’t rush—take a moment to match the solution perfectly to your gems.
The secret to brilliance is in your hands; will you open it or miss out?
—
In conclusion, selecting the appropriate liquid for your ultrasonic jewelry cleaner is essential.
It not only enhances the shine but also protects the integrity of your treasured pieces.
Take your time to understand the needs of your gems and the cleaning solutions available.
With the right choice, you’ll ensure your jewelry sparkles brilliantly and remains in excellent condition for years to come.
Remember, the key to beautiful jewelry lies in the details—so choose wisely!